I’m writing this because it just happened again.
It’s campaign season, so everybody is printing lawn signs, banners, and mailers. One of our clients is designing their own assets, and they sent the files over. The text sat outside the safety area, so we had to send them back. They made the art with an AI tool, which baked the words into the image, so there was nothing to nudge. They rebuilt the whole thing in Canva. A day later the files came back at the right size. They were 72 DPI.
This isn’t the first time. It’s happening more and more, because people are trying to save time and money by building their own assets. Good for them. But nobody is there to catch what a designer catches without thinking about it. So I’m putting the answer in one place that I can point people to.
A quick, self-serving note before we start. If you print more than business cards you should look at our Print Club. Scroll to the bottom to read about it. Everyone else, keep going.
Five settings prevent almost all of these problems: bleed, safety area, resolution, color mode, and fonts. Below is what each one means and where to set it in Canva, Procreate, AI image tools, Photoshop, and Illustrator.
What does “print-ready” actually mean?
A print-ready file is built at the finished size plus a little extra edge, with text kept away from that edge, enough pixels for the size, colors set for ink, and fonts that can’t swap. The vocabulary trips people up, so here are the five terms you’ll see in every tool.
- Trim line: where the cutter slices. It marks the finished size of your piece.
- Bleed: extra background that runs past the trim line, so a cut that drifts a hair still lands on color instead of white paper.
- Safety area: the zone just inside the trim line where text, logos, and phone numbers live. Anything outside it risks getting clipped.
- DPI: dots per inch. It describes how many pixels fit into each inch of the printed piece.
- CMYK: cyan, magenta, yellow, and black, the four inks a press mixes to make color. Screens use RGB instead, which stands for red, green, and blue light.
What are bleed and safety margins, and how big should they be?
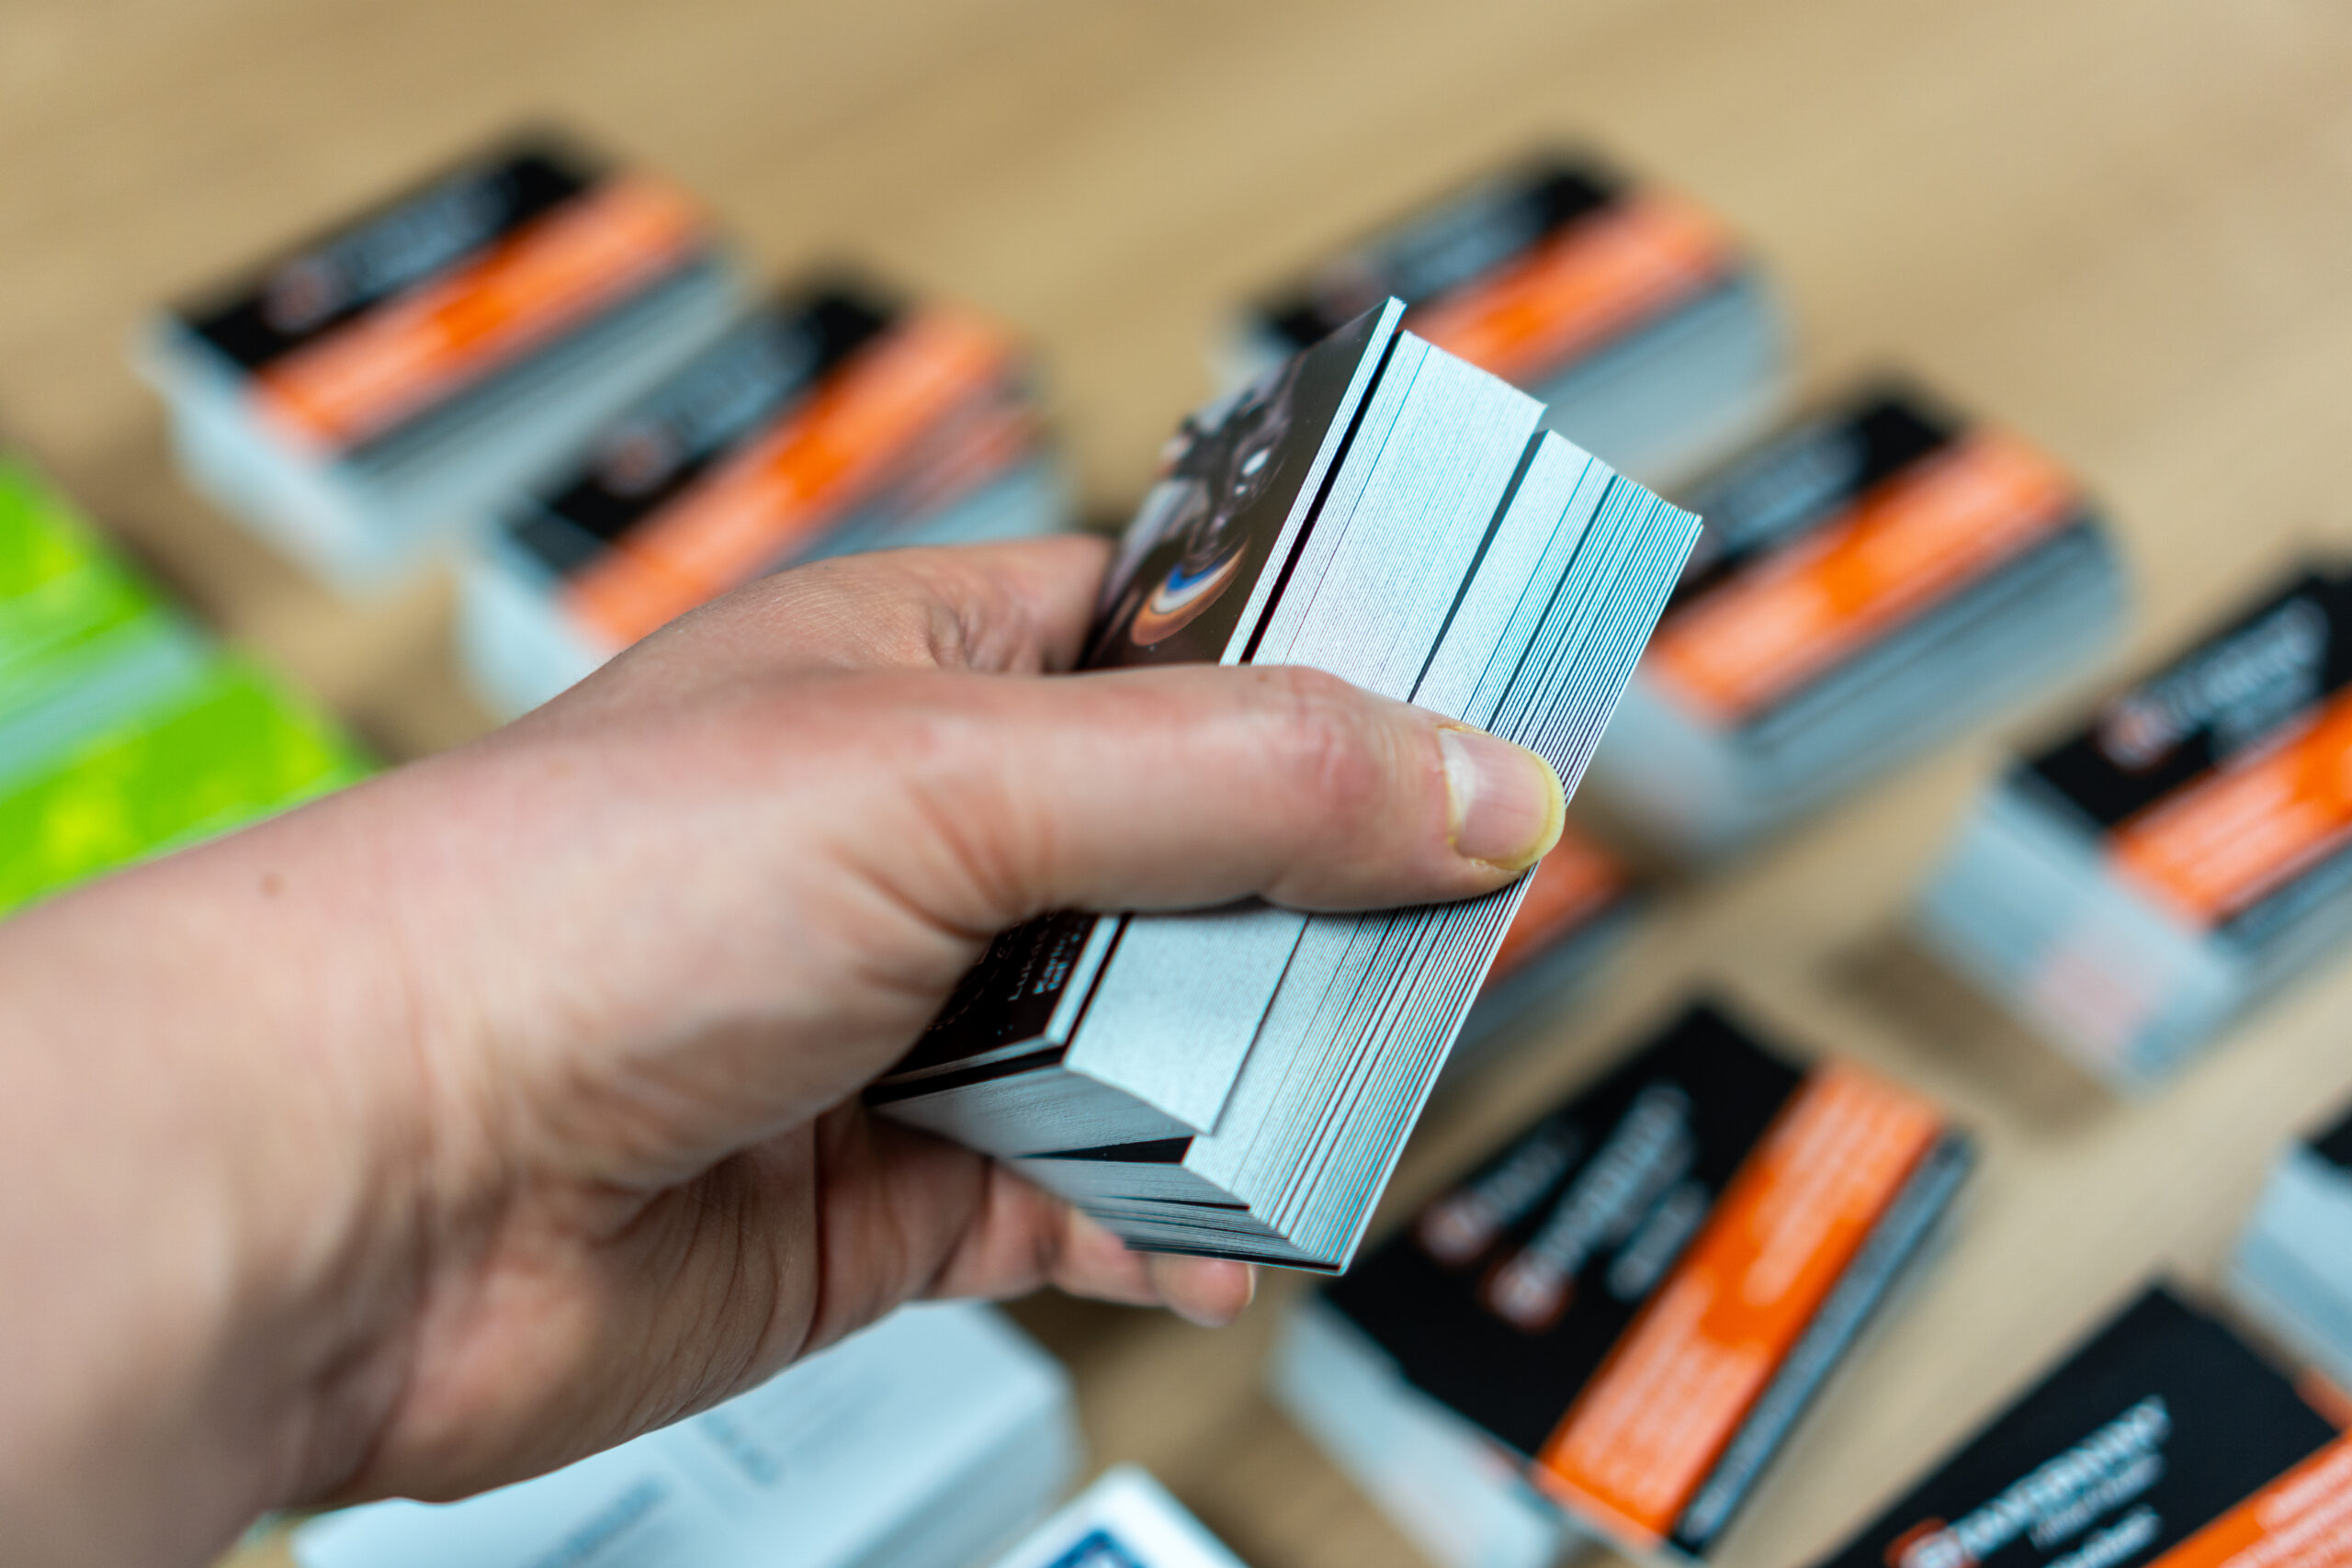
On paper items like business cards, postcards, and mailers, bleed is 1/8 inch of extra background past the trim line on all four sides, and the safety area (also called the safety margin) is 1/8 inch inside the trim line. Backgrounds and images run all the way to the bleed edge. Text and logos stay inside the safety line. Nothing important lives in the gap between.
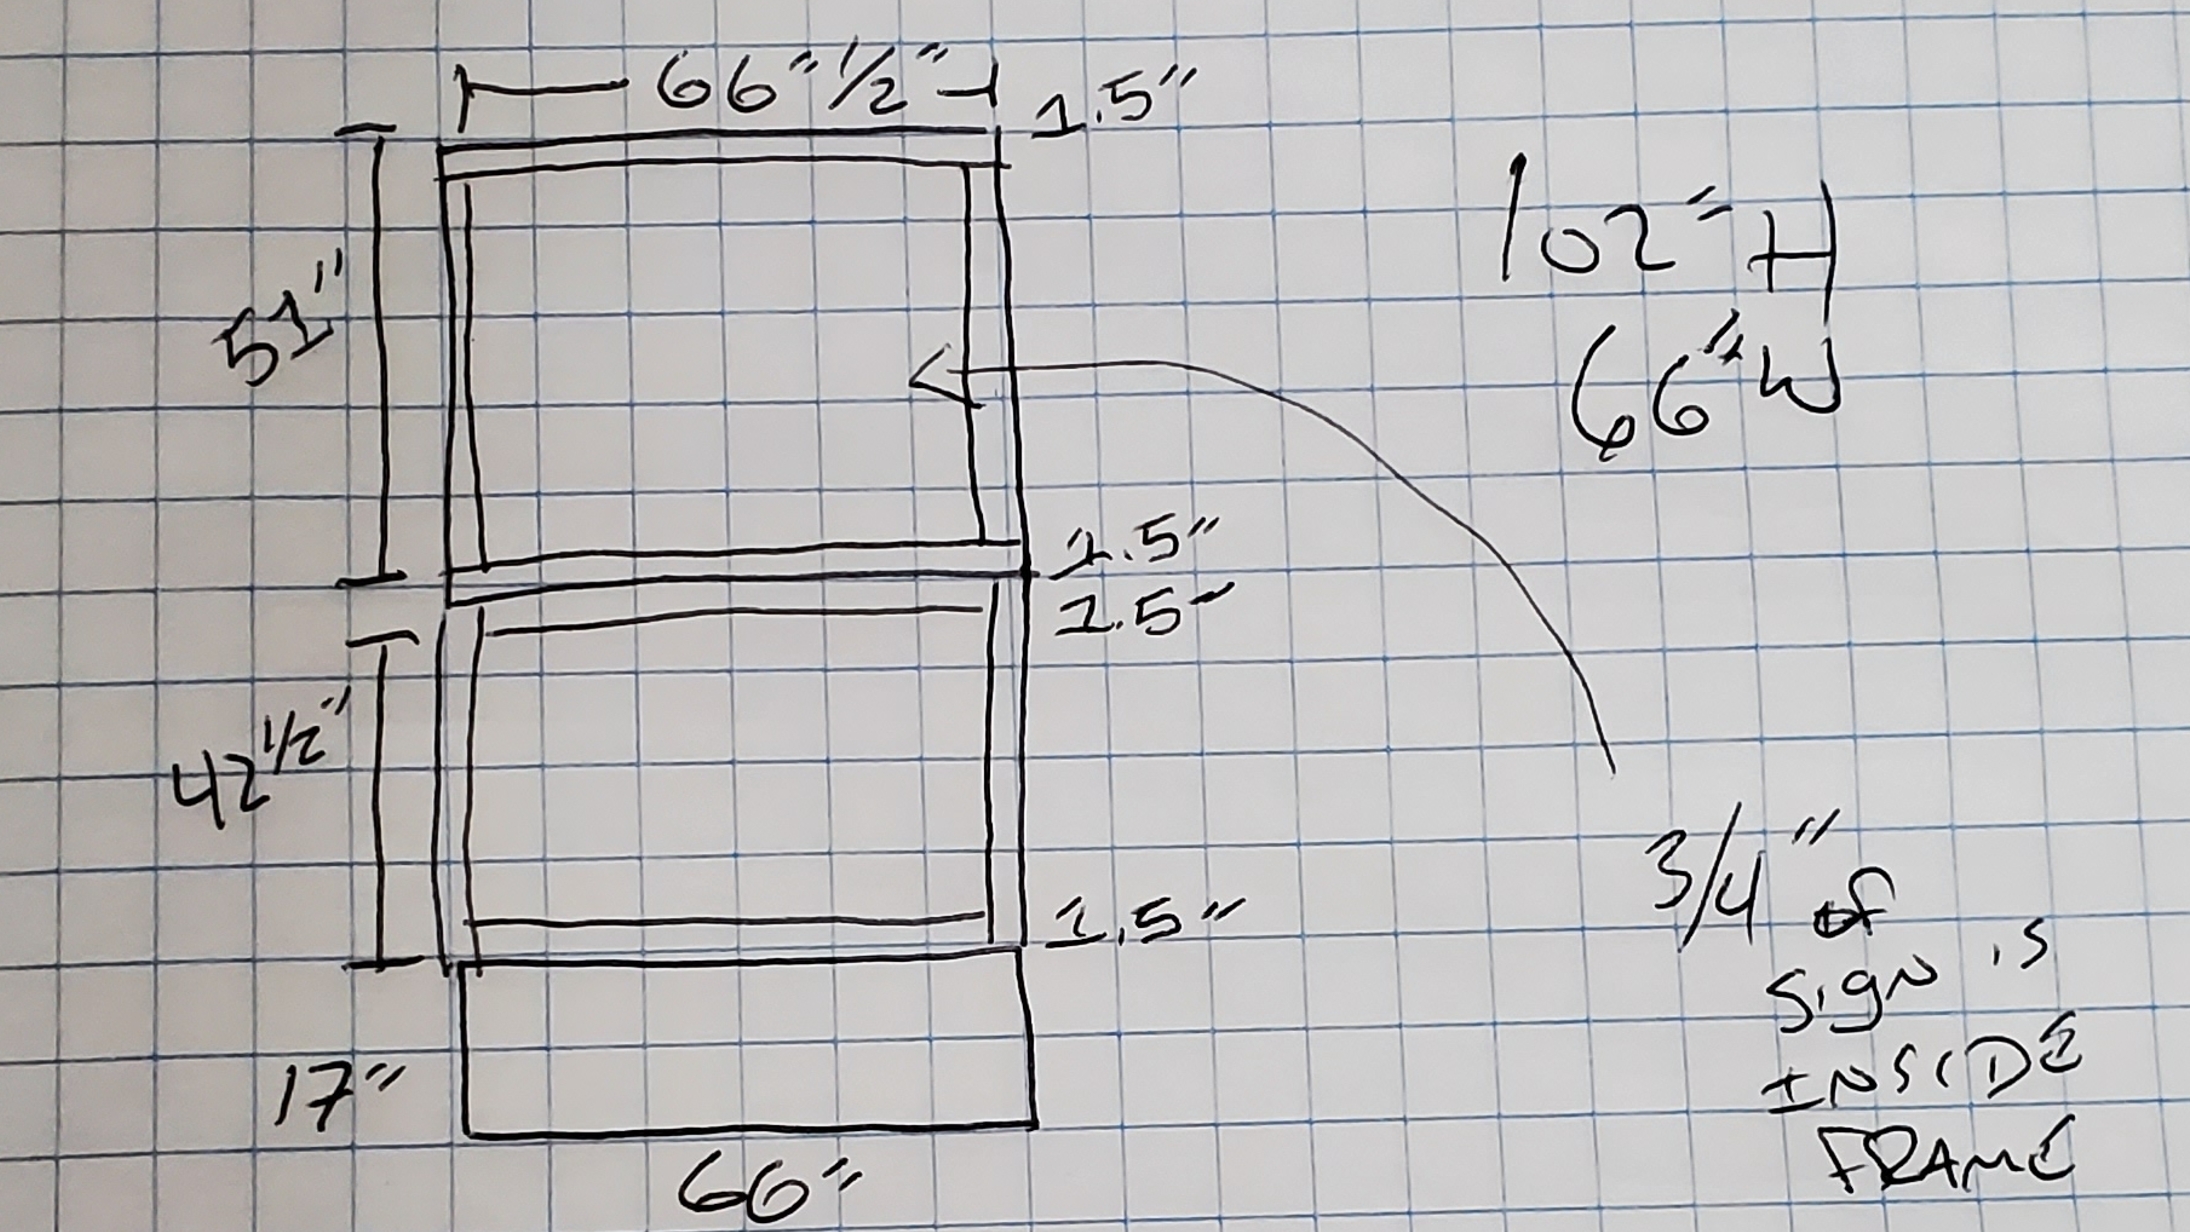
Large format works differently. Banners, coroplast signs, and Dibond panels have no bleed. You build them true to size and keep text and logos 1/2 inch inside the edge. The sections below cover how.
The reason is mechanical. A cutter never lands on exactly the same line twice. Without bleed, a small miss leaves a white edge or sliver along one side. Without a safety area, the same miss slices into your phone number. Canva’s help center gives the fix in one sentence: if you see white gaps around the design edges, resize or stretch your background to cover them.
Here’s the math for two common paper pieces:
- A 3.5 x 2 inch business card needs a 3.75 x 2.25 inch file, with text kept inside 3.25 x 1.75 inches.
- A 4 x 6 inch postcard needs a 4.25 x 6.25 inch file, with text inside 3.75 x 5.75 inches.
An 18 x 24 inch lawn sign is the large-format version of the same math. The file is exactly 18 x 24 inches, with no bleed, and text stays inside 17 x 23 inches.
Thin borders deserve a warning. A border sitting right at the trim line looks crooked the moment the cut shifts, so pull it inside the safety area or let it run off the edge entirely.
What resolution do I need?
Use 300 DPI at finished size for paper items like business cards, postcards, and mailers. For banners, coroplast signs (the corrugated plastic behind most lawn signs), and Dibond (an aluminum composite panel), 150 DPI at true size is the minimum, because nobody reads those from six inches away.
The number on the label matters less than the pixels behind it. A 4 x 6 inch postcard with bleed is 4.25 x 6.25 inches. At 300 DPI that’s 1,275 x 1,875 pixels. At 72 DPI it’s 306 x 450, which is why a 72 DPI file looks soft and blocky on paper. Midjourney’s documentation draws the same line: 72 DPI is right for screens, while printing usually needs around 300.
You can’t fix a soft file by relabeling it. Changing the DPI setting to 300 with Resample turned off keeps the same pixels and only changes how large they print, so the image prints smaller, not sharper. A low-resolution file needs a better original, with more pixels to start from.
For large format, build the file at true size, with no bleed. An 18 x 24 inch lawn sign is an 18 x 24 inch file, which works out to 2,700 x 3,600 pixels at 150 DPI. Don’t design on a letter-size page and plan to enlarge it. If the artwork is made of pixels, enlarging just stretches the ones you already have.
Should I design in CMYK or RGB?
Design in CMYK when your tool allows it. When it doesn’t, an RGB file still prints, but the colors will shift. Our RIP (raster image processor, the software that drives the printer) converts RGB files to CMYK automatically, and the colors absolutely will change.
Screens mix red, green, and blue light, and they can show colors that ink can’t make. Canva’s help center names the usual offenders: electric blues and hot pinks fall out of gamut, which means they sit outside the range ink can reproduce, and they print softer. If your brand blue glows on screen, expect a duller version on paper.
Each tool handles the choice differently, and the order matters. Procreate asks for RGB or CMYK when you create the canvas and won’t let you switch afterward. Adobe advises editing in RGB in Photoshop and converting to CMYK at the end. Canva’s editor works with hex colors, and its help center suggests converting CMYK values to hex before you design. The next few sections cover each one.
How do I set up a print file in Canva?
For paper items, make a custom-size design that already includes the bleed, keep your text 1/4 inch inside the edge of the page, and download it as a PDF Print with the crop marks box unchecked. Large signs and banners skip the bleed, and a note after the steps covers that. Here are the steps.
- On the Canva Home page, choose Custom size. Switch the units dropdown to in, then enter your finished size plus 1/4 inch on each dimension. A business card becomes 3.75 x 2.25.
- Open File, then Settings, and turn on Show rulers and guides. Drag a guide in from each ruler until it sits 1/4 inch from the page edge. That’s 1/8 inch of bleed plus 1/8 inch of safety area. Canva’s rulers match your design’s units, so they’ll read in inches.
- Stretch every background color and photo to the very edge of the page. Keep text, logos, and phone numbers inside the guides.
- Choose Share, then Download, then PDF Print as the file type. Some versions of the download panel show PDF with a Digital or Print preset instead. Pick Print.
- In Advanced settings, switch on Flatten PDF. Canva says this turns the file into a static image, so your fonts become part of the artwork and nothing can swap. Expect a bigger file.
- Leave Crop marks and bleed unchecked. Your bleed is already built into the page.
- If the download panel offers a CMYK color profile, choose it. If you don’t see one, send the file anyway. Our RIP handles the conversion, and the colors will shift.
Canva does have its own bleed tools. Under File and Settings, Show print bleed draws a dashed border at 0.125 inch by default, and the Crop marks and bleed checkbox adds printed trim marks to the PDF. Those marks only appear in the exported file, never in the editor. We don’t want them in the file, and building the bleed into the page keeps the file clean.
For banners, coroplast signs, and Dibond panels, skip the extra 1/4 inch. Choose Custom size, enter the exact finished size, such as 18 x 24 inches for a lawn sign, and keep text and logos 1/2 inch inside the edge. Download the PDF Print the same way, with Crop marks and bleed unchecked.
How do I set up a print file in Procreate?
For paper items, create a Custom Canvas at your finished size plus 1/4 inch and set the DPI to 300. For large signs, use the exact finished size, with no bleed, and set the DPI to 150. Either way, choose CMYK as the Color Profile before you draw a single stroke. Then export a PDF or a JPEG.
- In the Gallery, tap the + symbol, then the rectangle icon with a + to open a Custom Canvas.
- Set the unit to Inches. Enter the Width and Height (finished size plus 1/4 inch for paper items, or the exact finished size for large signs) and the DPI.
- Under Color Profile, choose CMYK. Procreate says the RGB or CMYK profile is set when you create the canvas, and you can’t switch between them afterward.
- Draw with the edges in mind. On paper items, background artwork goes all the way to the canvas edge, and text stays at least 1/4 inch in from it. On large signs, text stays at least 1/2 inch in from the edge.
- When you’re done, open the Actions menu, choose Share, and export as PDF or JPEG. We take either.
Two cautions. Bigger canvases support fewer layers, and the maximum canvas size depends on your iPad model, so a large sign canvas will limit how much you can stack. And Procreate’s own help tells artists to confirm the size, DPI, color profile, and file format with their printer before they start. This article is that answer for ours.
What about AI-generated artwork?
Treat an AI image as a photo with a fixed pixel count, not as a finished print file. It almost never arrives at your trim size, it has no bleed, and anything written inside the image can’t be edited.
Start with the pixels. At the time of writing, Midjourney’s documentation lists a default HD image at 2,048 x 2,048 pixels, which covers about 6.8 inches at 300 DPI. Its Subtle and Creative upscalers each double the size, so a 2:3 image grows to 1,792 x 2,688 pixels. At 150 DPI, that covers about 11.9 x 17.9 inches, still short of an 18 x 24 inch sign. For larger prints, Midjourney’s docs point to third-party upscaling tools. Other AI tools output other sizes, so check the pixel dimensions before you commit to a layout.
Next, rebuild the layout. Drop the image into a Canva or Photoshop page at the full file size, with bleed if it’s a paper item. Extend the background until it reaches the edge, then put every word on top as live text. That fixes the problem from the order I described at the top. Words baked into an AI image can’t move, so they can’t be pulled inside the safety area. Live text can.
Last, proofread. Lettering rendered inside AI images can come out misspelled, so read every word, phone number, and web address at 100% before you export. Catching typos is one of the better jobs we’ve found for AI. And if the AI artwork is your logo, read why AI logos fall apart in production first. A logo needs a vector file, not a pile of pixels.
Setting up a full bleed in Adobe Illustrator
What about Photoshop and Illustrator?
If you own Adobe software, set CMYK when you create the document, add bleed if it’s a paper item, and export a PDF that carries the bleed with it.
In Photoshop, size the document to the finished size (plus bleed for paper items), then choose Image, Mode, CMYK Color. Adobe’s advice is to edit in RGB first and convert to CMYK at the end of your editing. Check Image, Image Size to confirm the pixel dimensions before you export.
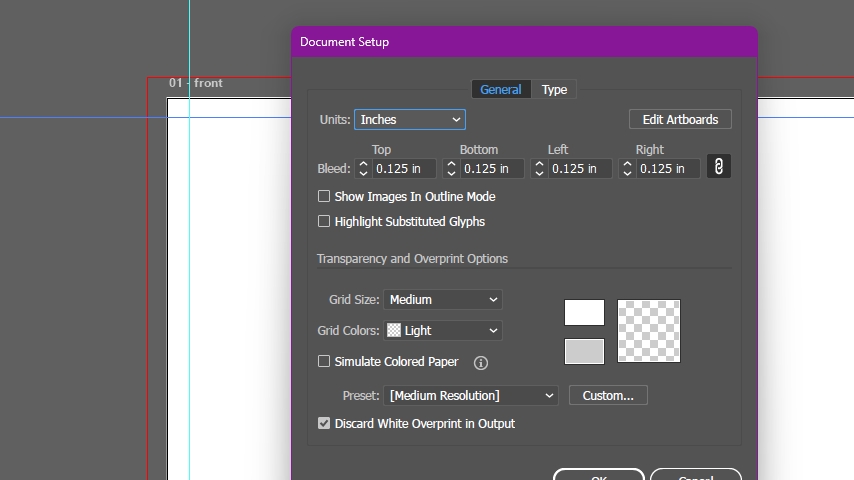
In Illustrator, enter the bleed in the New Document dialog box for paper items: 1/8 inch (0.125) on all four sides. For large format, enter zero. When you save as Adobe PDF, open the Marks and Bleeds panel and choose Use Document Bleed Settings, and leave the printer’s marks unchecked. Adobe’s PDF options also include font embedding, so your fonts travel inside the file. You can also convert type to outlines (Type, Create Outlines), which turns the letters into shapes that can’t swap. Illustrator artwork is vector, which stays sharp at any size, something no pixel-based file can promise.
Which file type should I send for printing?
Send a PDF or a JPG. Both work for us. Build paper items like business cards, postcards, and mailers at finished size plus 1/8 inch of bleed on each side, at 300 DPI. Build banners, coroplast signs, and Dibond panels true to size, with no bleed, at 150 DPI or better, and keep text and logos 1/2 inch inside the edge.
True to size means the file’s dimensions match the finished piece. An 18 x 24 inch sign is an 18 x 24 inch file, with nothing added, not a letter-size page scaled up later. Embed or flatten your fonts, and leave crop marks out. Keep the editable original too, whether that’s a Canva design, a Procreate file, or a layered Photoshop file. When something needs a tweak, you’ll want it, and our article on protecting your master artwork covers how to keep it safe.
What should I check before I upload?
Run this list against your exported file, not the one on your screen in the editor.
- Paper items: the file size equals the finished size plus 1/8 inch on every side. Large format: the file size equals the finished size, with no bleed.
- On paper items, backgrounds and photos reach the bleed edge, with no white slivers.
- Text, logos, and phone numbers sit inside the safety area: at least 1/8 inch inside the trim line on paper items, and 1/2 inch inside the edge on large format.
- Images are 300 DPI at print size, or 150 DPI for large signs at true size.
- The color profile is CMYK, or you’ve accepted that RGB colors will shift.
- Fonts are embedded or flattened.
- There are no crop marks in the file.
- Every word, phone number, and web address has been proofread at 100%.
Questions people ask about print files
Is 300 DPI good enough for printing?
Yes. Three hundred DPI at finished size is the standard for paper items like business cards and postcards. Large pieces viewed from a distance, like banners and yard signs, can drop to 150 DPI at true size.
Is CMYK better than RGB for printing?
CMYK matches how ink works, so it shows you something close to the result before you print. RGB files still print. Our RIP converts them to CMYK, and the colors shift when it does.
Why do my printed colors look duller than my screen?
Screens glow, and paper doesn’t. Bright RGB colors like electric blue and hot pink fall outside what ink can reproduce, so the printed version lands softer. Our own Fusion Marketing green is a great example. It looks great on a screen and a lot more muted once it’s printed. That’s why you want to know how a color will look on paper before you order, not after. Designing in CMYK shows you the shift up front.
Can I print a Canva file?
Yes. Build the page with the bleed included, keep your text inside the safety area, and download it as a PDF Print. The steps are in the Canva section above.
Ready to print?
When your file passes the checklist, you can upload it at print.tryfusionmarketing.com. Our online store is open 24/7, so you can place an order whenever the file is ready, day or night. If the artwork needs more than a few tweaks, our graphic design team is there when you want a hand.
What is Print Club?
Print Club is our wholesale printing membership. If you print more than business cards, or you spend more than a few hundred bucks on print, it saves your up to 80% on the things you’re already buying. You can read more and sign up at the Print Club portal.