You’ve completed an amazing project. The transformation is obvious to you, but translating that into compelling visual content requires more than just pointing and shooting. Whether you’re in renovations, beauty services, or any transformation-based business, these techniques will help you capture before-and-after photos that demonstrate your expertise and drive bookings.
Clean Your Lens
Your camera lens collects fingerprints, dust, and smudges throughout the day. A quick cleaning makes the difference between sharp, professional images and photos that look amateurish regardless of your camera quality. This applies especially to phones, which spend time in pockets and bags picking up debris.


Trust me, your followers will notice.
Harness the Power of Natural Light
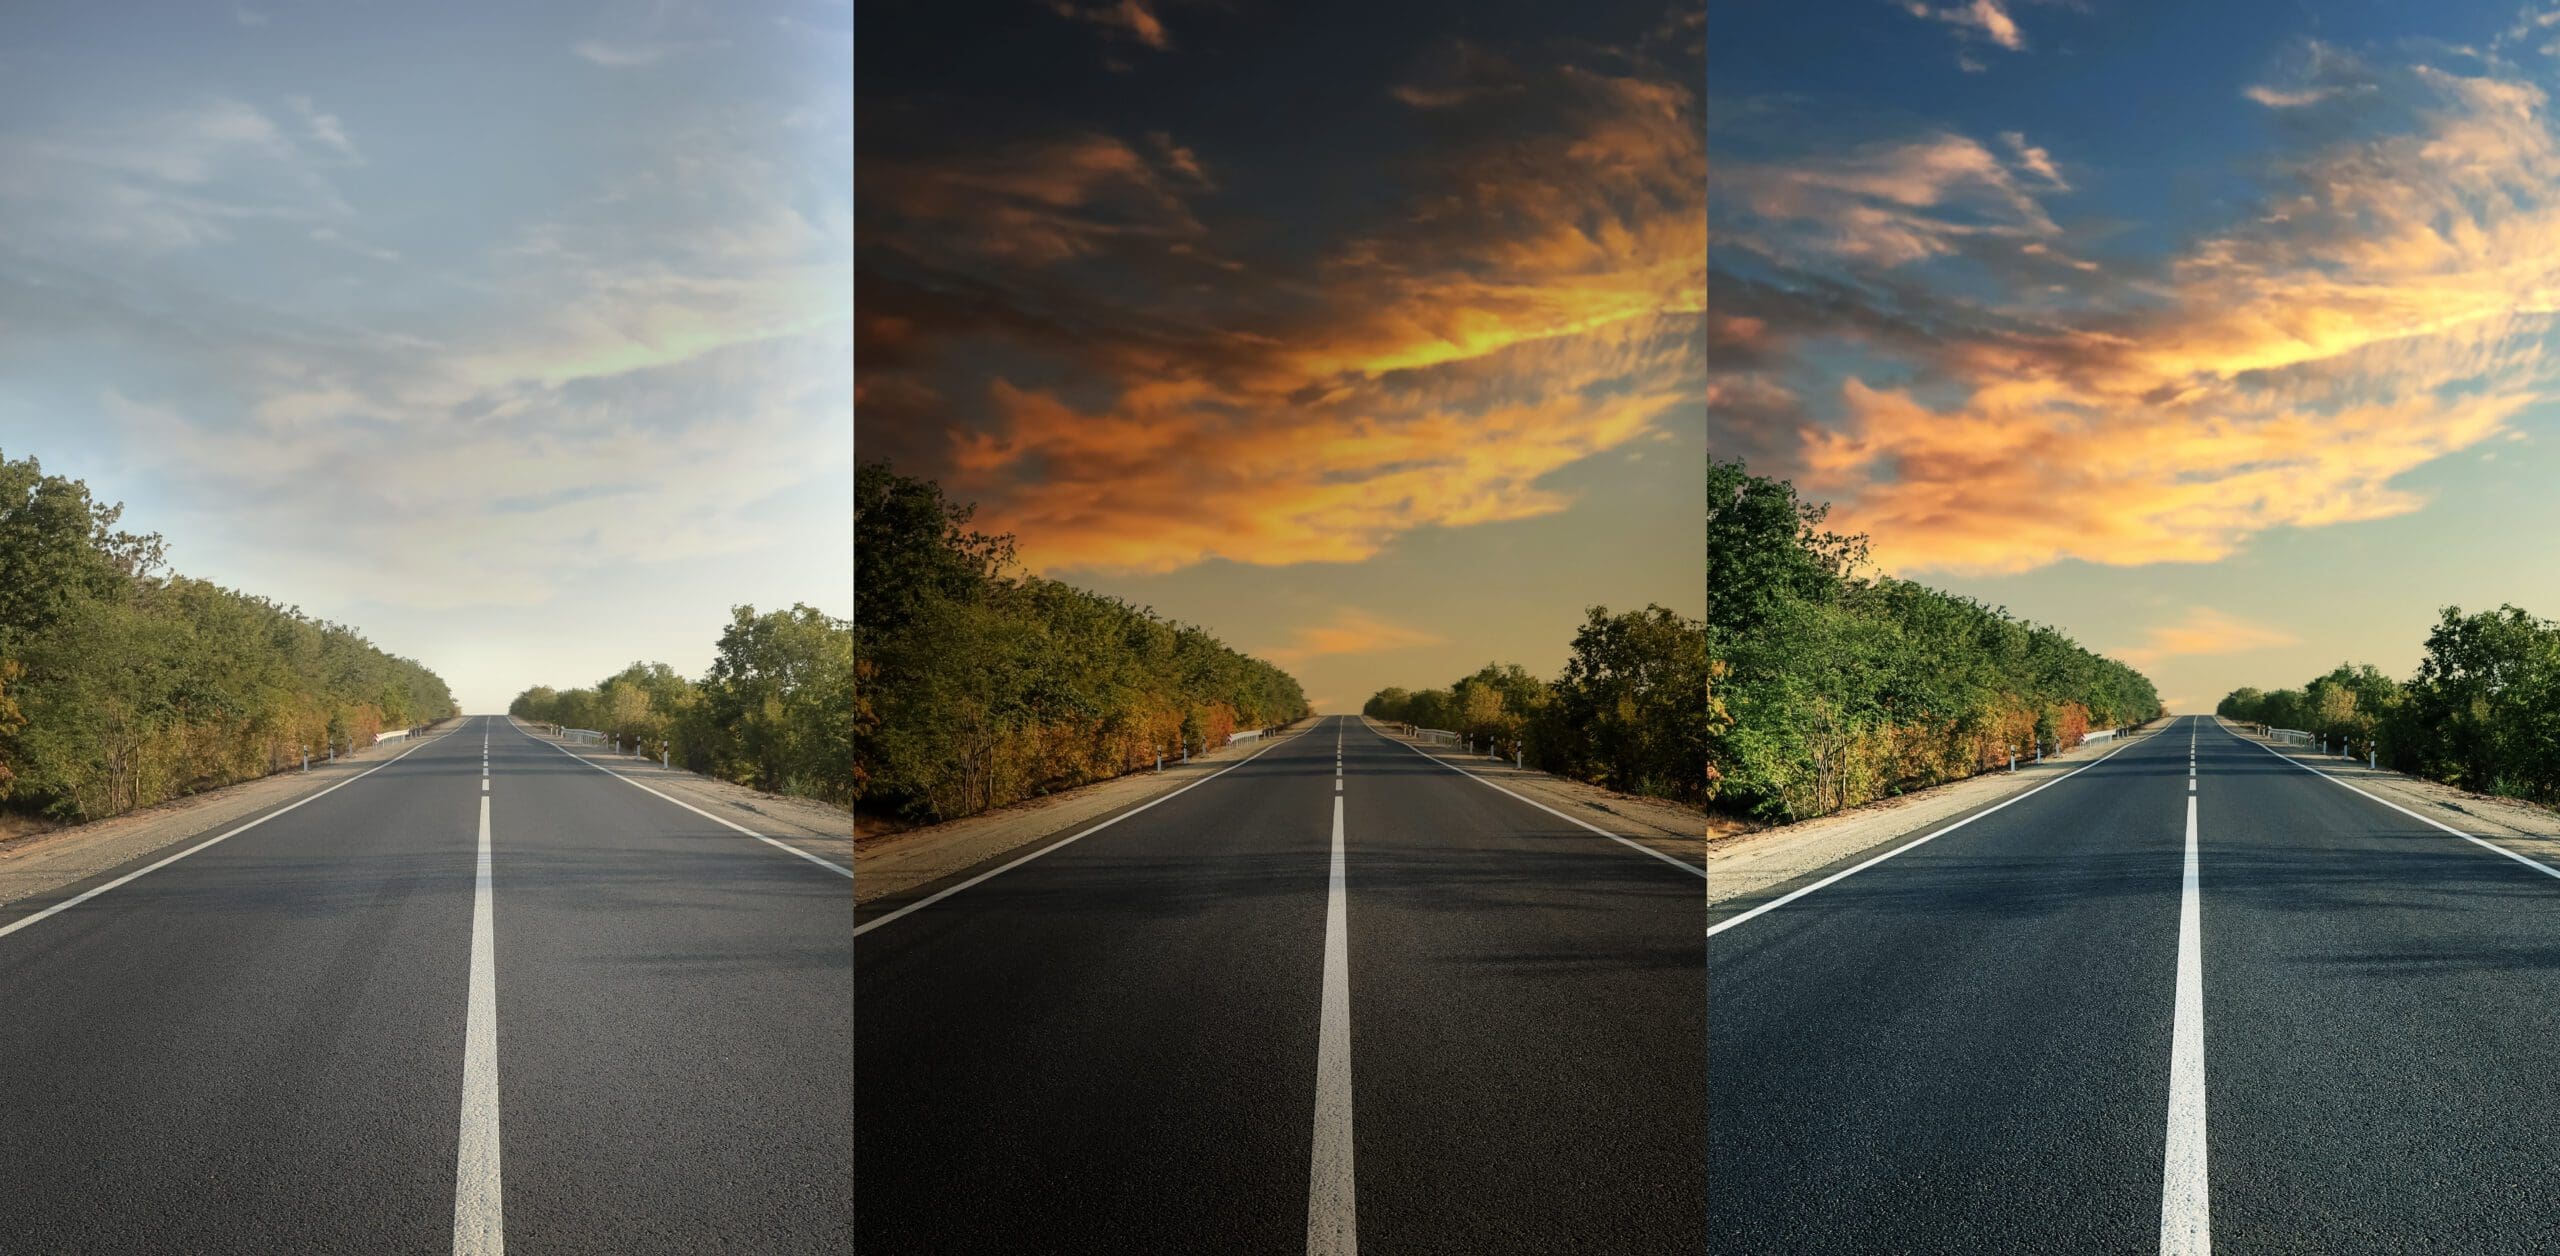
Natural light produces the most accurate color representation and flattering results. Schedule your photography for times when you have consistent, bright natural light available. When artificial lighting is necessary, position light sources behind your camera to avoid creating shadows or uneven illumination across your subject.
Consistency between before-and-after shots is critical. If possible, capture both images at the same time of day in the same location. When timing doesn’t allow this, use additional lighting to match the exposure and color temperature of your original shot.

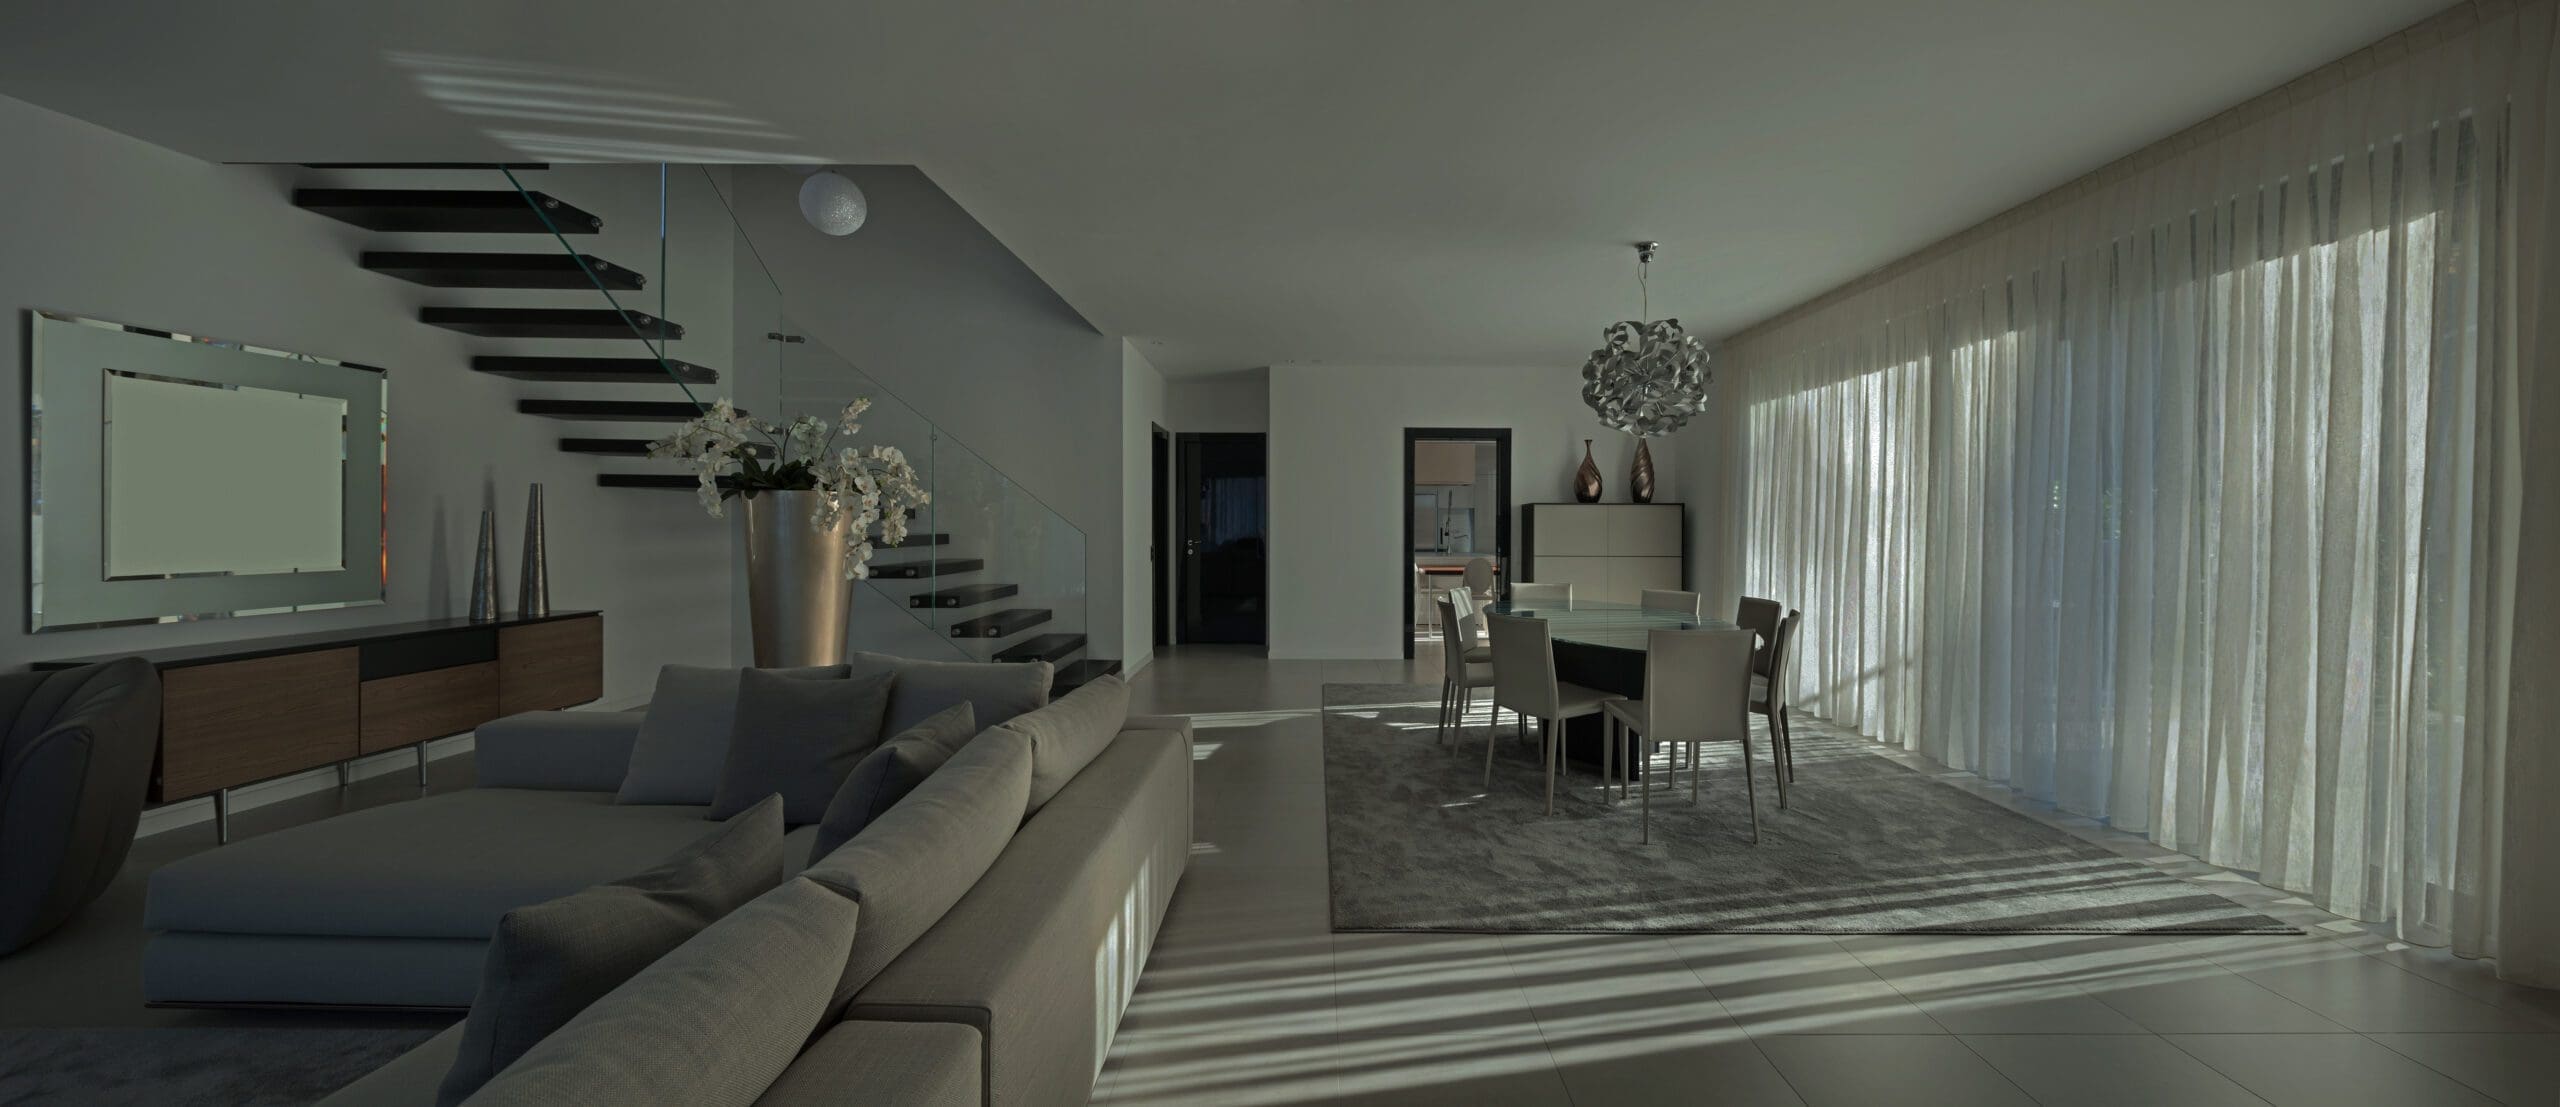
Notice how just the lighting can transform the entire room.
Learn Your Camera Settings
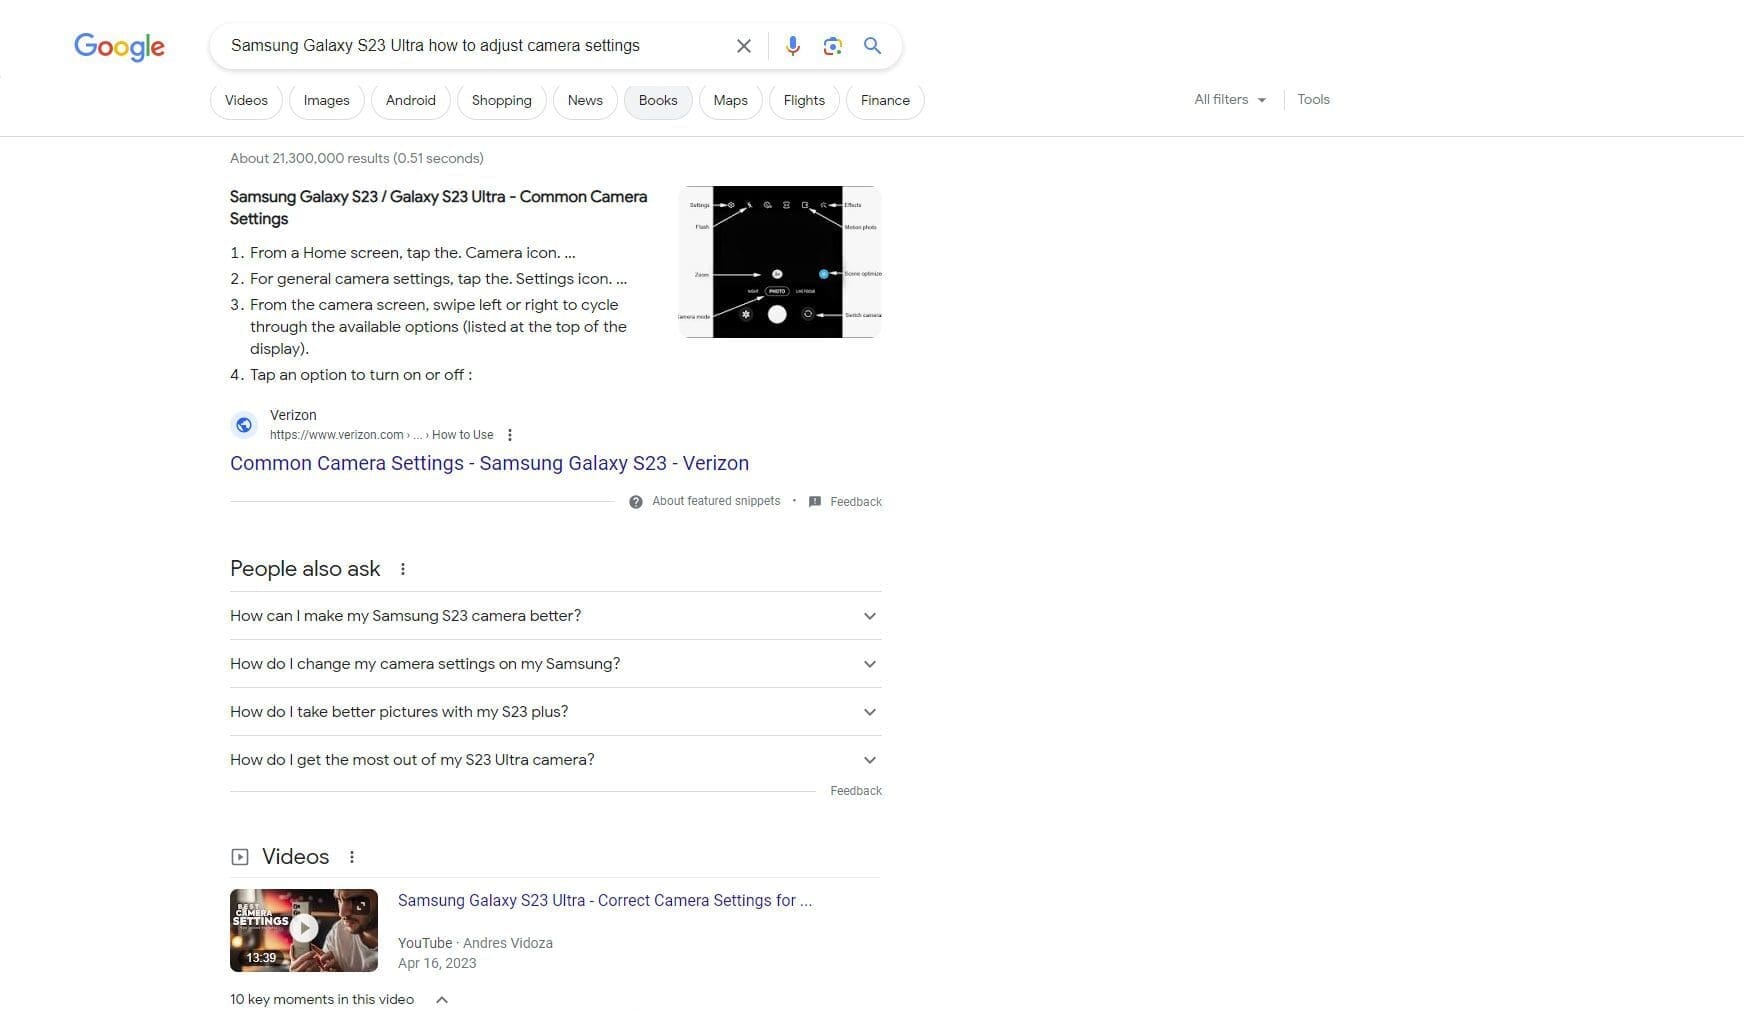
Every smartphone and camera has manual controls that dramatically improve image quality when you understand how to use them. Instead of relying on automatic settings, learn to adjust exposure, focus, and white balance for your specific shooting conditions.
Search for tutorials specific to your device model. These settings cost nothing to learn but can transform amateur-looking photos into professional-quality marketing materials.
Keep Your Perspective Consistent
Take before-and-after photos from identical positions and angles. Most cameras include a grid overlay that helps align your shots. Use fixed reference points like room corners, windows, or architectural features to ensure your framing remains constant.
This consistency makes transformations more dramatic and easier for viewers to process. When elements shift between shots, it distracts from the actual changes you want to highlight.

Use Stable Support
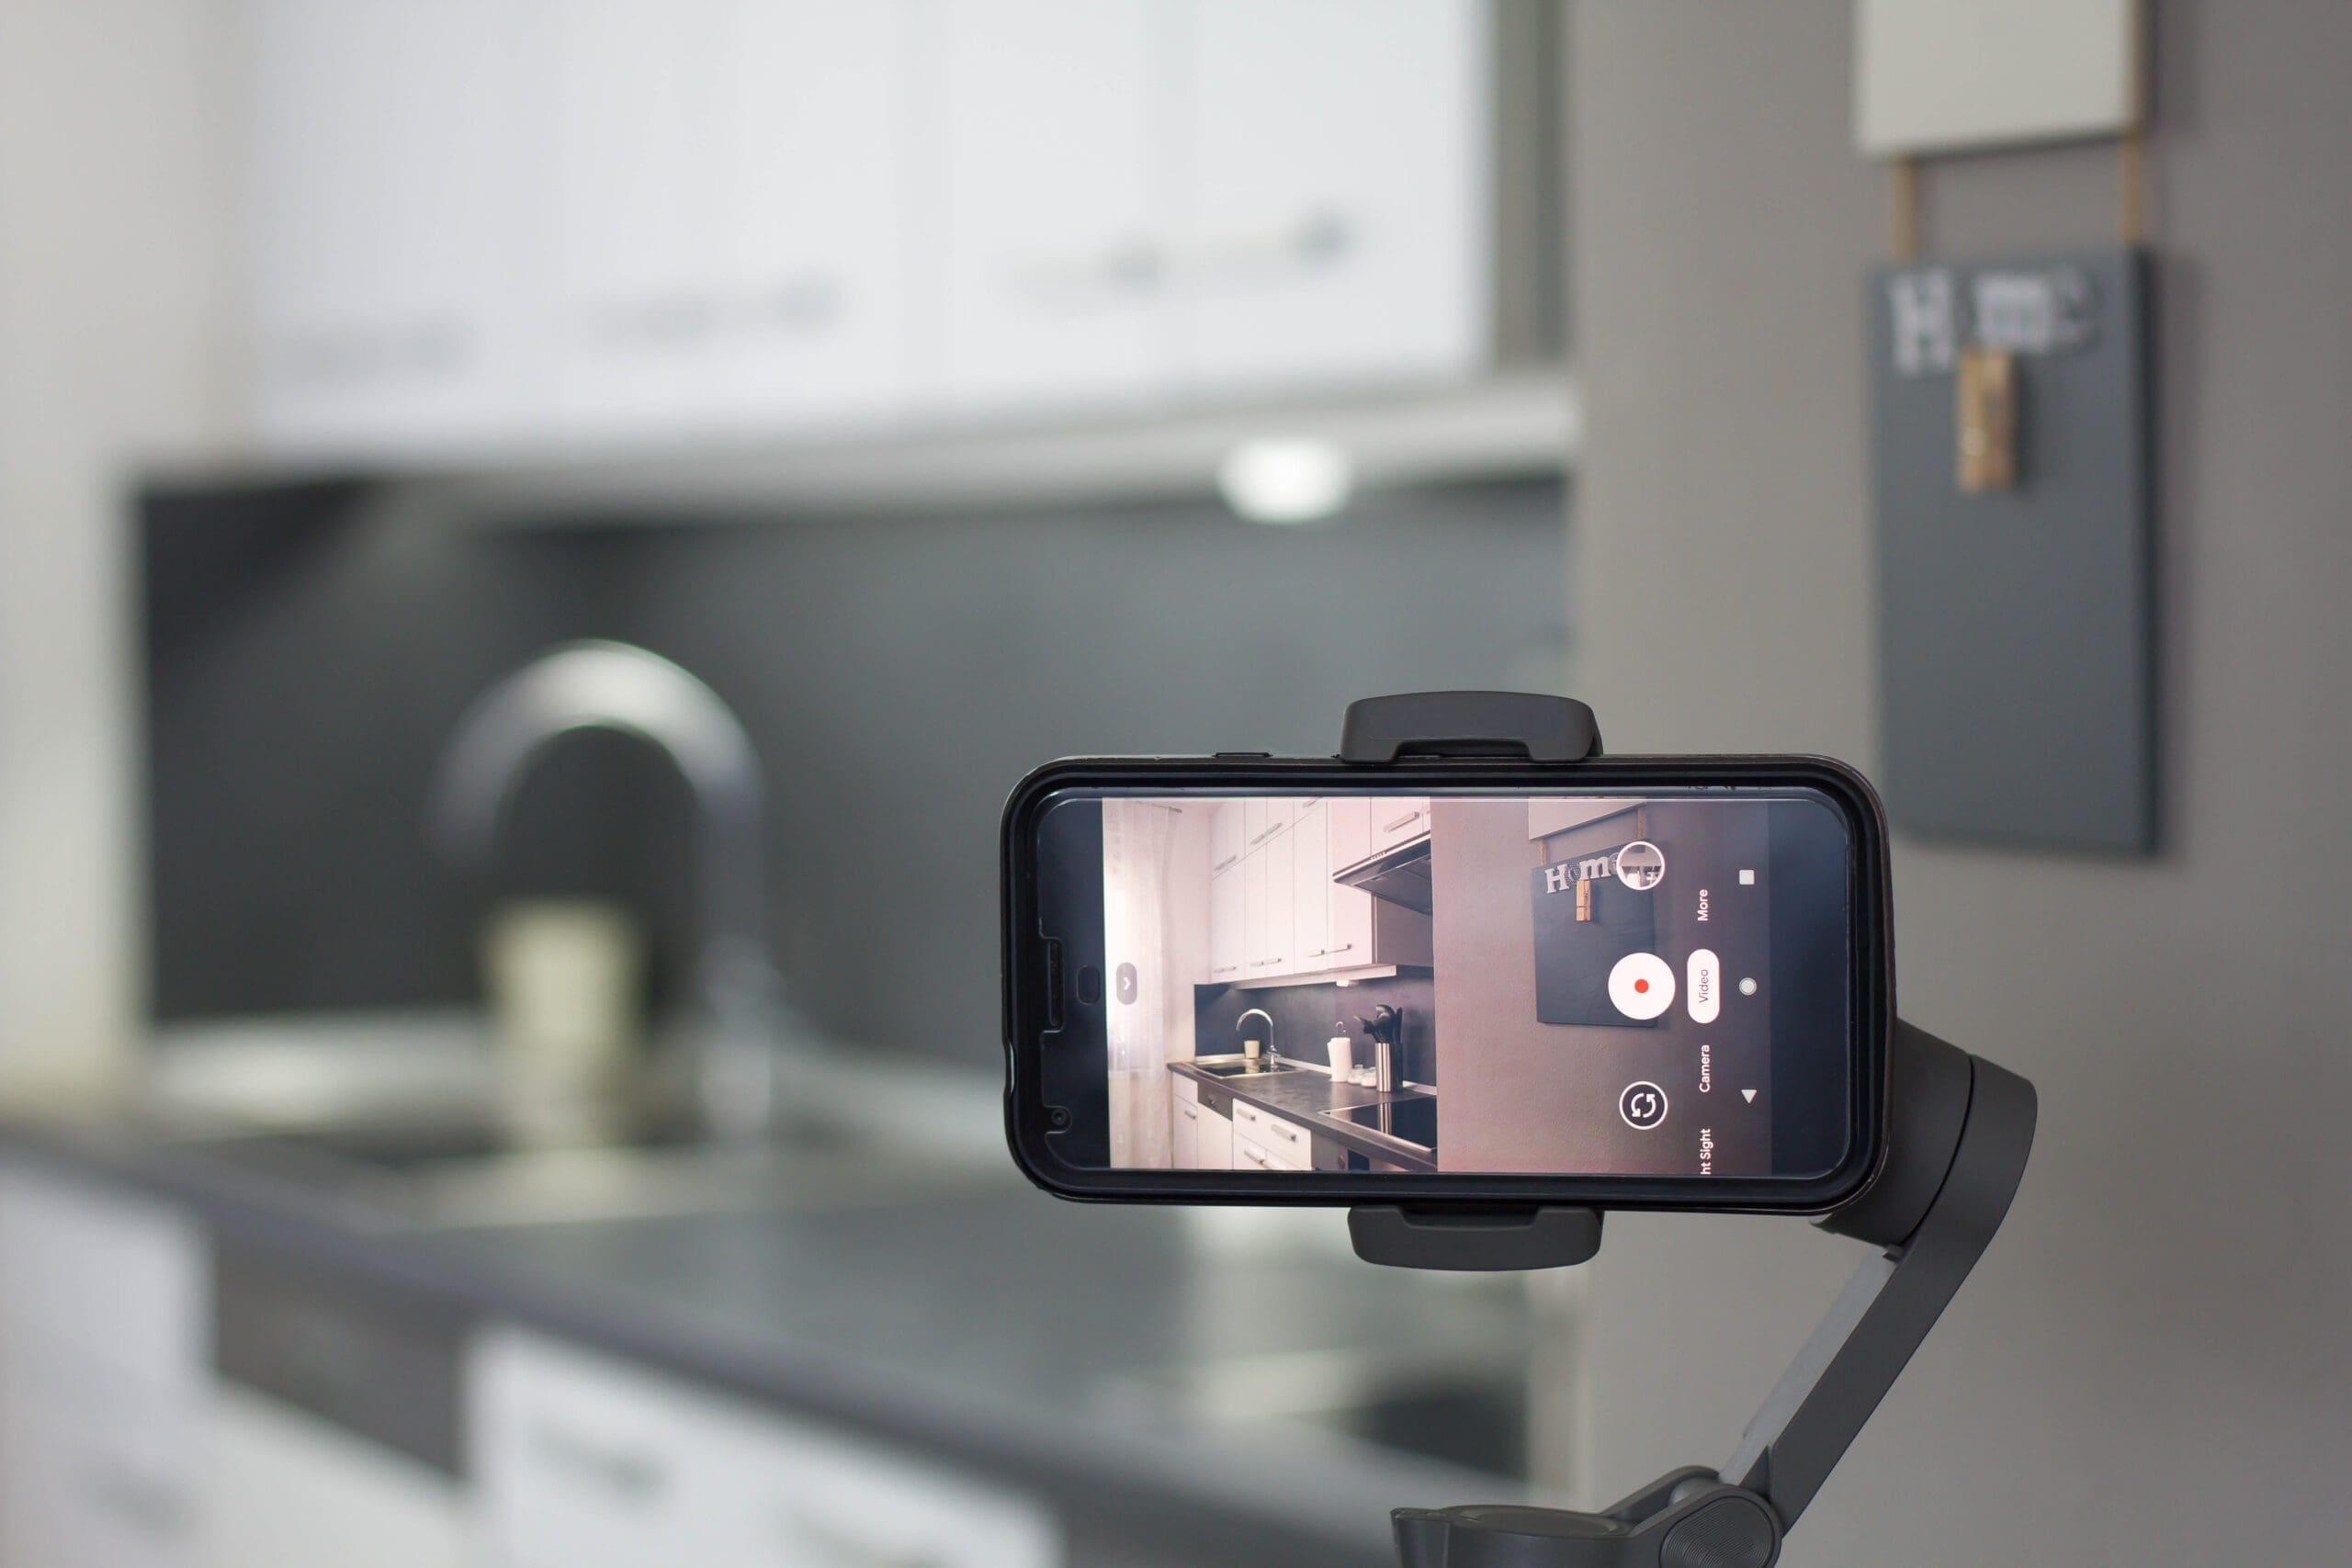
Camera shake creates blurry images that undermine professional credibility. Use a tripod when possible, or rest your camera on a stable surface. Even photographers with steady hands benefit from mechanical stabilization, especially in lower light conditions.
Smartphone tripods are inexpensive and portable. In situations where you don’t have equipment available, improvise with books, shelves, or other surfaces to create a stable platform.
Consider Wide-Angle Perspectives
Many newer phones include wide-angle lenses (typically 0.6x zoom) that capture more of a space in a single frame. This is particularly valuable when photographing room transformations or working in tight spaces where you can’t physically back up far enough to show the full area.
If your phone lacks this feature, wide-angle lens attachments are available as affordable accessories.

Capture Detail Shots
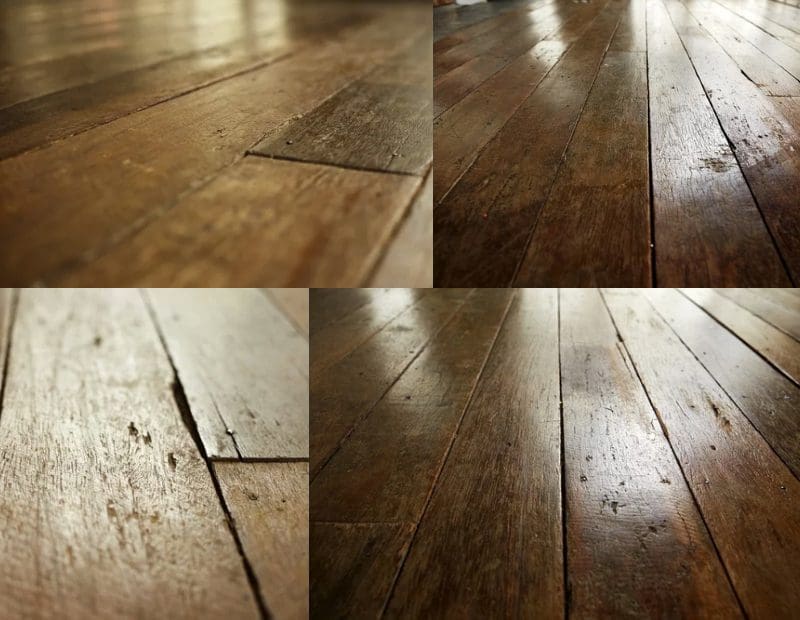
Close-up photographs highlight specific improvements and craftsmanship details that might not be apparent in full-room shots. Most smartphones include macro photography modes for extreme close-ups, or you can move closer to your subject while maintaining focus.
Detail shots work particularly well for showing texture changes, material quality, or precision work that demonstrates your expertise.


Take Multiple Angles and Exposures
Professional photographers shoot far more images than they use. Different angles reveal different aspects of your work, and having multiple options ensures you capture the most compelling perspective.
Vary your shooting height, distance, and position. Some angles will work better than others depending on lighting conditions and the specific transformation you’re documenting.
Edit Consistently
Apply the same editing adjustments to both before-and-after images. This might seem counterintuitive since you want the “after” shot to look better, but inconsistent editing makes transformations appear artificial or misleading.
Focus on corrections that improve image quality without altering the fundamental appearance: brightness, contrast, and color balance adjustments are appropriate. Heavy filtering or dramatic color changes undermine credibility.
Why This Matters for Your Business
Quality before-and-after photography serves as proof of your capabilities. Poor photography can make excellent work look amateur, while professional documentation positions you as detail-oriented and skilled.
These images often become your most effective marketing materials, appearing on websites, social media, and client presentations. The time invested in proper photography technique pays returns across multiple marketing channels.
Need help with professional marketing materials that showcase your work effectively? Contact Fusion Marketing to discuss photography, graphic design, and integrated marketing solutions that help your business stand out.


