Custom stickers are great for a number of different reasons. They’re excellent as little gifts to give to your customers, you can use them to decorate your store, they can be sold as products, or you can even just use them around the home. Whatever you decide to do with your custom stickers, we’ve got a couple of great tips to help you make kick-ass customer stickers that won’t suck.

1. Don’t overcomplicate the colors
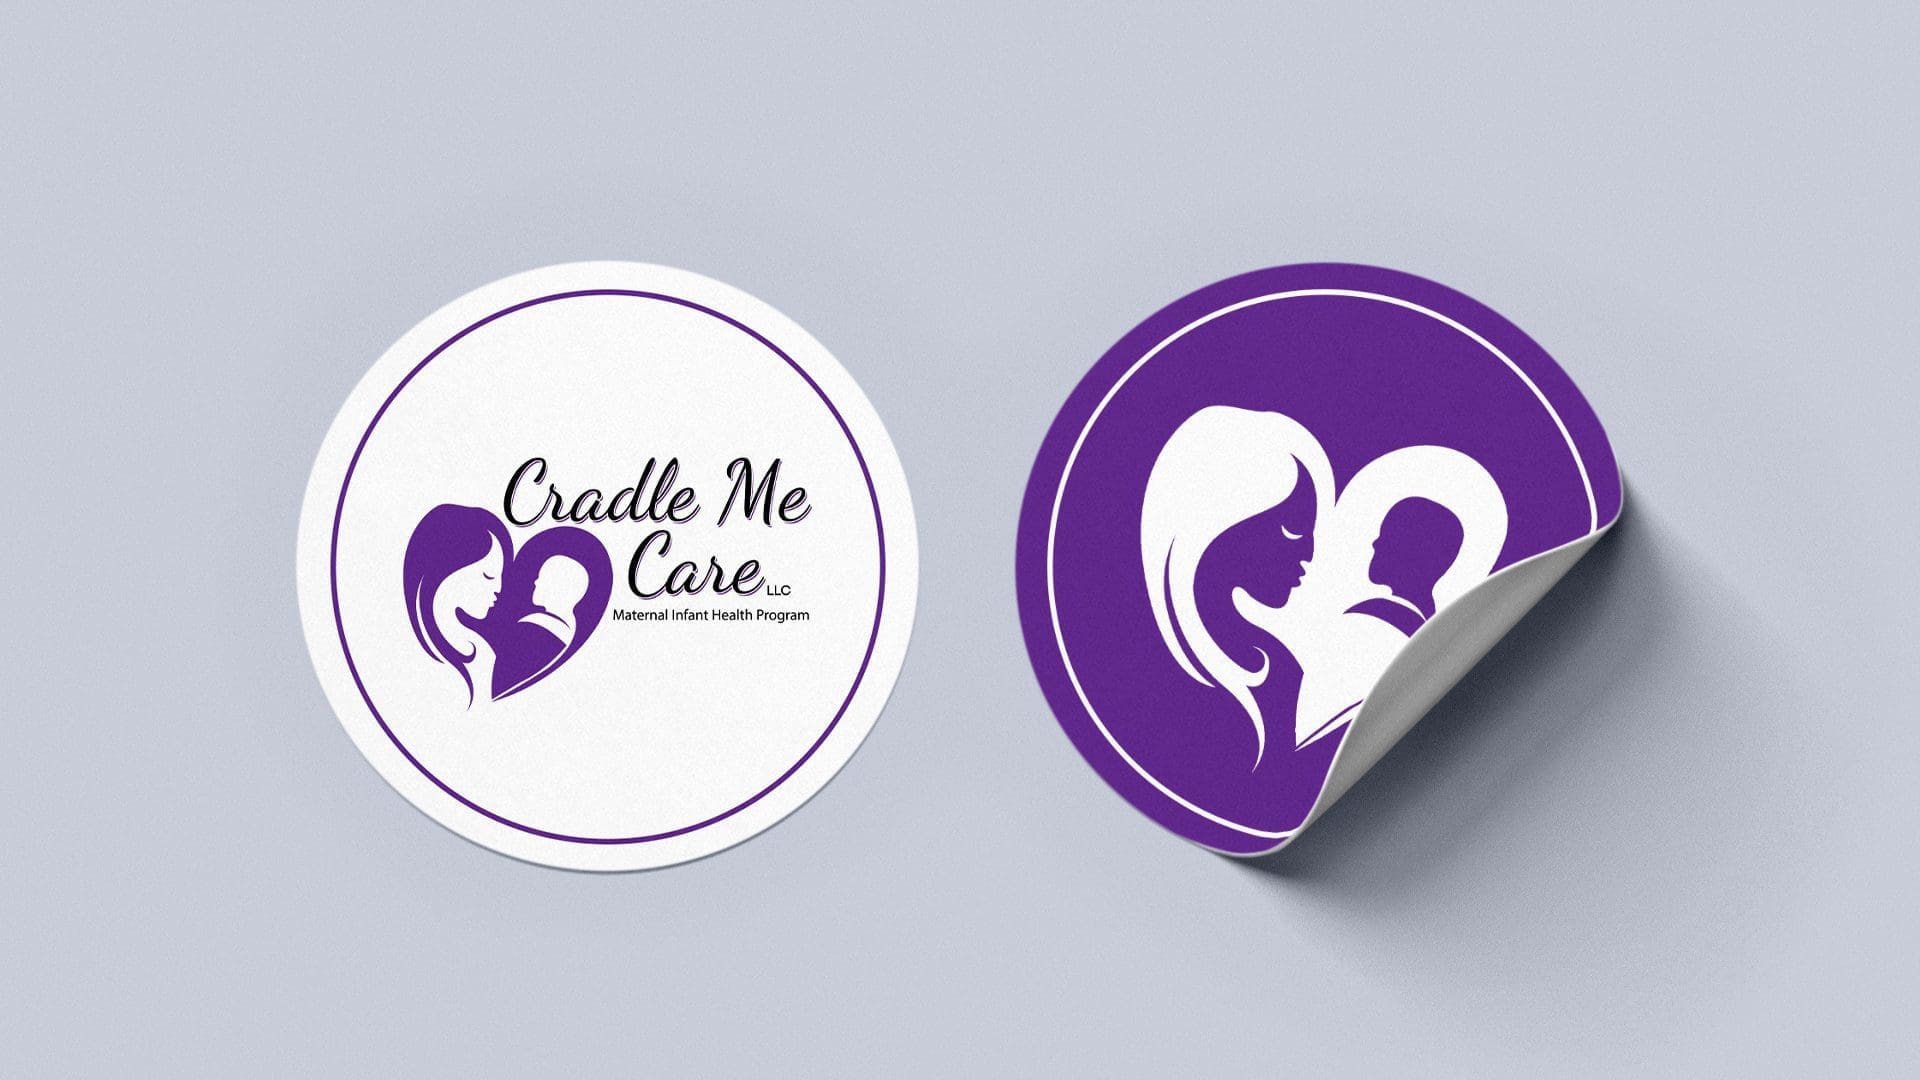
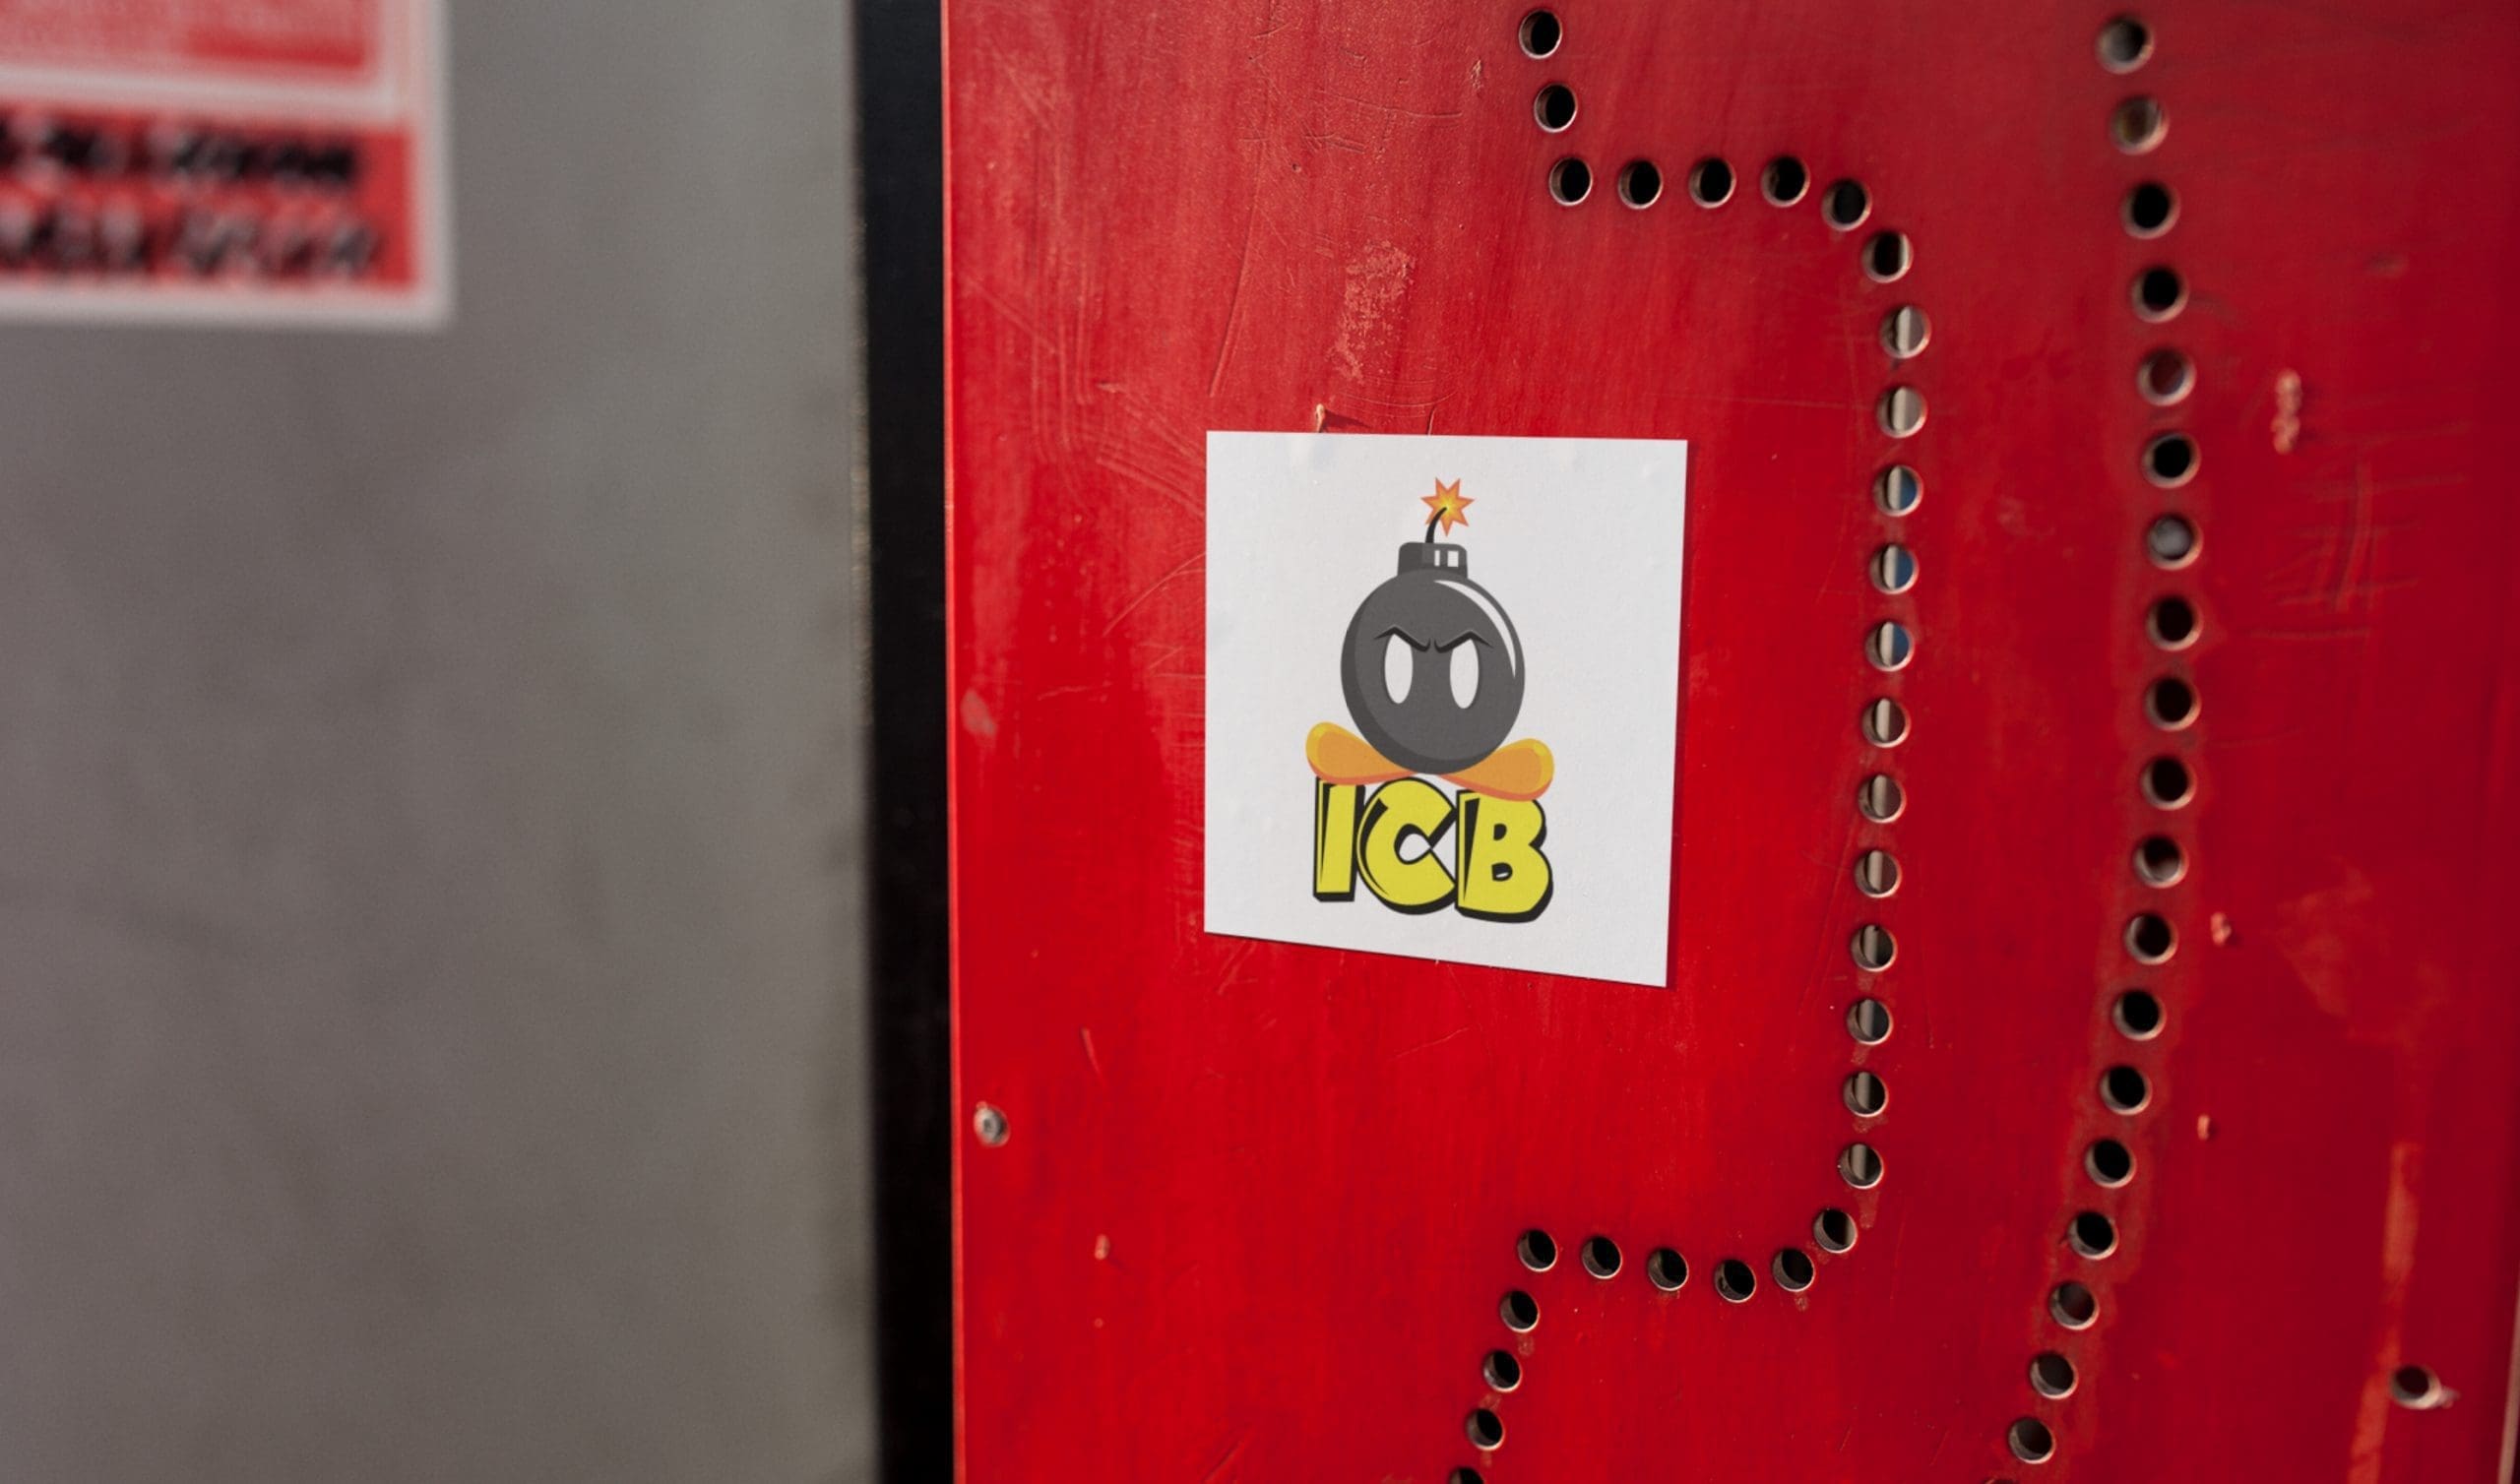
Color choice is important when it comes to eye-catching sticker designs. If you’re making a cartoony design or clip-art style sticker then make sure you limit yourself to four colors at most. However, if you’re creating stickers of real things such as a photograph, then you don’t need to follow this rule.
2. Add borders to your custom sticker to help it pop
Thick lines around your sticker will help it stand out and define what the shape is meant to represent. The stronger the outlines, the more likely your sticker will stand out against whatever it’s placed on.
3. Play with color gradients
While sticking to a few colors is great for most designs, you can actually play around with color gradients to make unique sticker designs. For example, if you have a sticker with the sun and sky, you can use a blue to white gradient to make the sky stand out, or an orange and yellow gradient for the sun. This adds a bit more visual interest and makes for a unique design.
4. Less is more with sticker designs
Start with your base idea then slowly work on simplifying it. Simplify the lines, remove unnecessary details, and try out different shapes and patterns to make it stand out. It’s hard to simplify something, but once you get it down, it’ll take your custom sticker design to a whole new level while still staying faithful to the original.
5. Use fonts that can actually be read
Make use of big and clear typefaces instead of using complex designs. If you want to use a fancy typeface, then allow it to stand on its own by keeping it clear and designing the sticker around it. If you try to complicate things too much, it’s going to get too busy and will be hard on the eyes. If possible, try and pick fonts that are clear and thick so that they’re easier to read from further away.
6. Make sure there are no thin or flimsy parts of your design
It’s important that your sticker design doesn’t have any kind of flimsy edges or weak parts. These areas might come loose after you’ve used the sticker for a while and they tend to be structurally weak. If possible, reinforce these areas by adding white space around them. For example, if you have a sticker in the shape of an “H” letter, then you’ll want to surround it with a border or white space to ensure that it doesn’t break apart.
7. Start the design on a large resolution or consider using vector graphics instead
If you’re a part of the design process then make sure you start with a large resolution. This will ensure that the sticker doesn’t look blurry when you print it out. If possible, you may want to start with a vector instead of a raster image. These will offer superior quality regardless of how large or small you print it, meaning you can reuse the design for branding, posters, or larger stickers in the future.
8. Use CMYK
If you’re printing something out then it’s important to stick with the CMYK color model. This stands for Cyan, Magenta, Yellow, Black. They’re the four basic colors used to print color images and it makes a noticeable difference in the color accuracy of the image. Whatever design tool you’re using, make sure you switch it to CMYK mode for a more accurate representation of what you’ll be printing. If you’re not personally handling the design, then make sure the designer is aware that you’ll be printing it so they switch to CMYK mode.
9. Embrace the use case of your stickers
Different stickers have different use cases, so make sure you embrace whatever you’re using it for. For example, if you’re using it as a promotional freebie that comes with your products, then you may want to include some contact details on it or even your logo. Alternatively, if it’s a sticker that will be sold in your shop, then you want to consider making unique designs that aren’t just copies of your logo. You can use the same colors so that it represents your brand, or you can design entirely unique things to stand out and make them more fashionable.
10. Use high-quality stickers
The design and artwork are just two components of your sticker. The other component is the quality of the sticker itself. There are stickers with different qualities of stickiness, some are tougher than others, and some might prefer more flimsy thinner stickers. It all depends on what you’re aiming for with your stickers, but if you plan to keep them around for a long time or want to sell them as products, then you should ideally go for high-quality stickers with a thicker material. Certain materials are also better to print on and will result in higher-quality images.
If you’re looking to print out custom stickers, get in touch with us at Fusion Marketing to see the difference that we could make. Whether you’re printing logo stickers for your business, matte UV stickers for a club, or just regular stickers for home use, we’ve got you covered. Just contact us today to learn more or take a look at our portfolio to see our past projects.