Hey there, Fusion fam! We’ve got some spicy tips coming your way today.
Picture this: you’ve just finished a killer renovation project, or maybe you’ve given someone the haircut of their dreams. You’re stoked, they’re stoked, but… how do you share that excitement with the world?
Enter the mighty before-and-after photo. It’s like the superhero of social media content, swooping in to save the day by showing off your mad skills. But like any superhero, it needs a little prep work to truly shine. So, whether you’re in home renovations, hairdressing, or even deep cleaning, here are some top tips for taking before-and-after photos, or just photos in general, that will make your followers’ jaws drop (and get them scrambling to book an appointment with you).
Clean Your Lens
First things first, clean that lens! Finger smudges often obscure a camera lens, resulting in out-of-focus images. And if you’re using your phone to snap the perfect shot, remember – our phones go through a lot and often pick up fingerprints and smudges along the way. A quick wipe-down can make all the difference between a blurry mess and a crisp, clear photo.

Trust me, your followers will notice.
Harness the Power of Natural Light
The best time to snap those pics is on a sunny afternoon when natural light is your best buddy. If you’re stuck with lamps or overhead lights, make sure they’re behind the camera. You want to avoid creating shadows or uneven lighting that could distort the image.
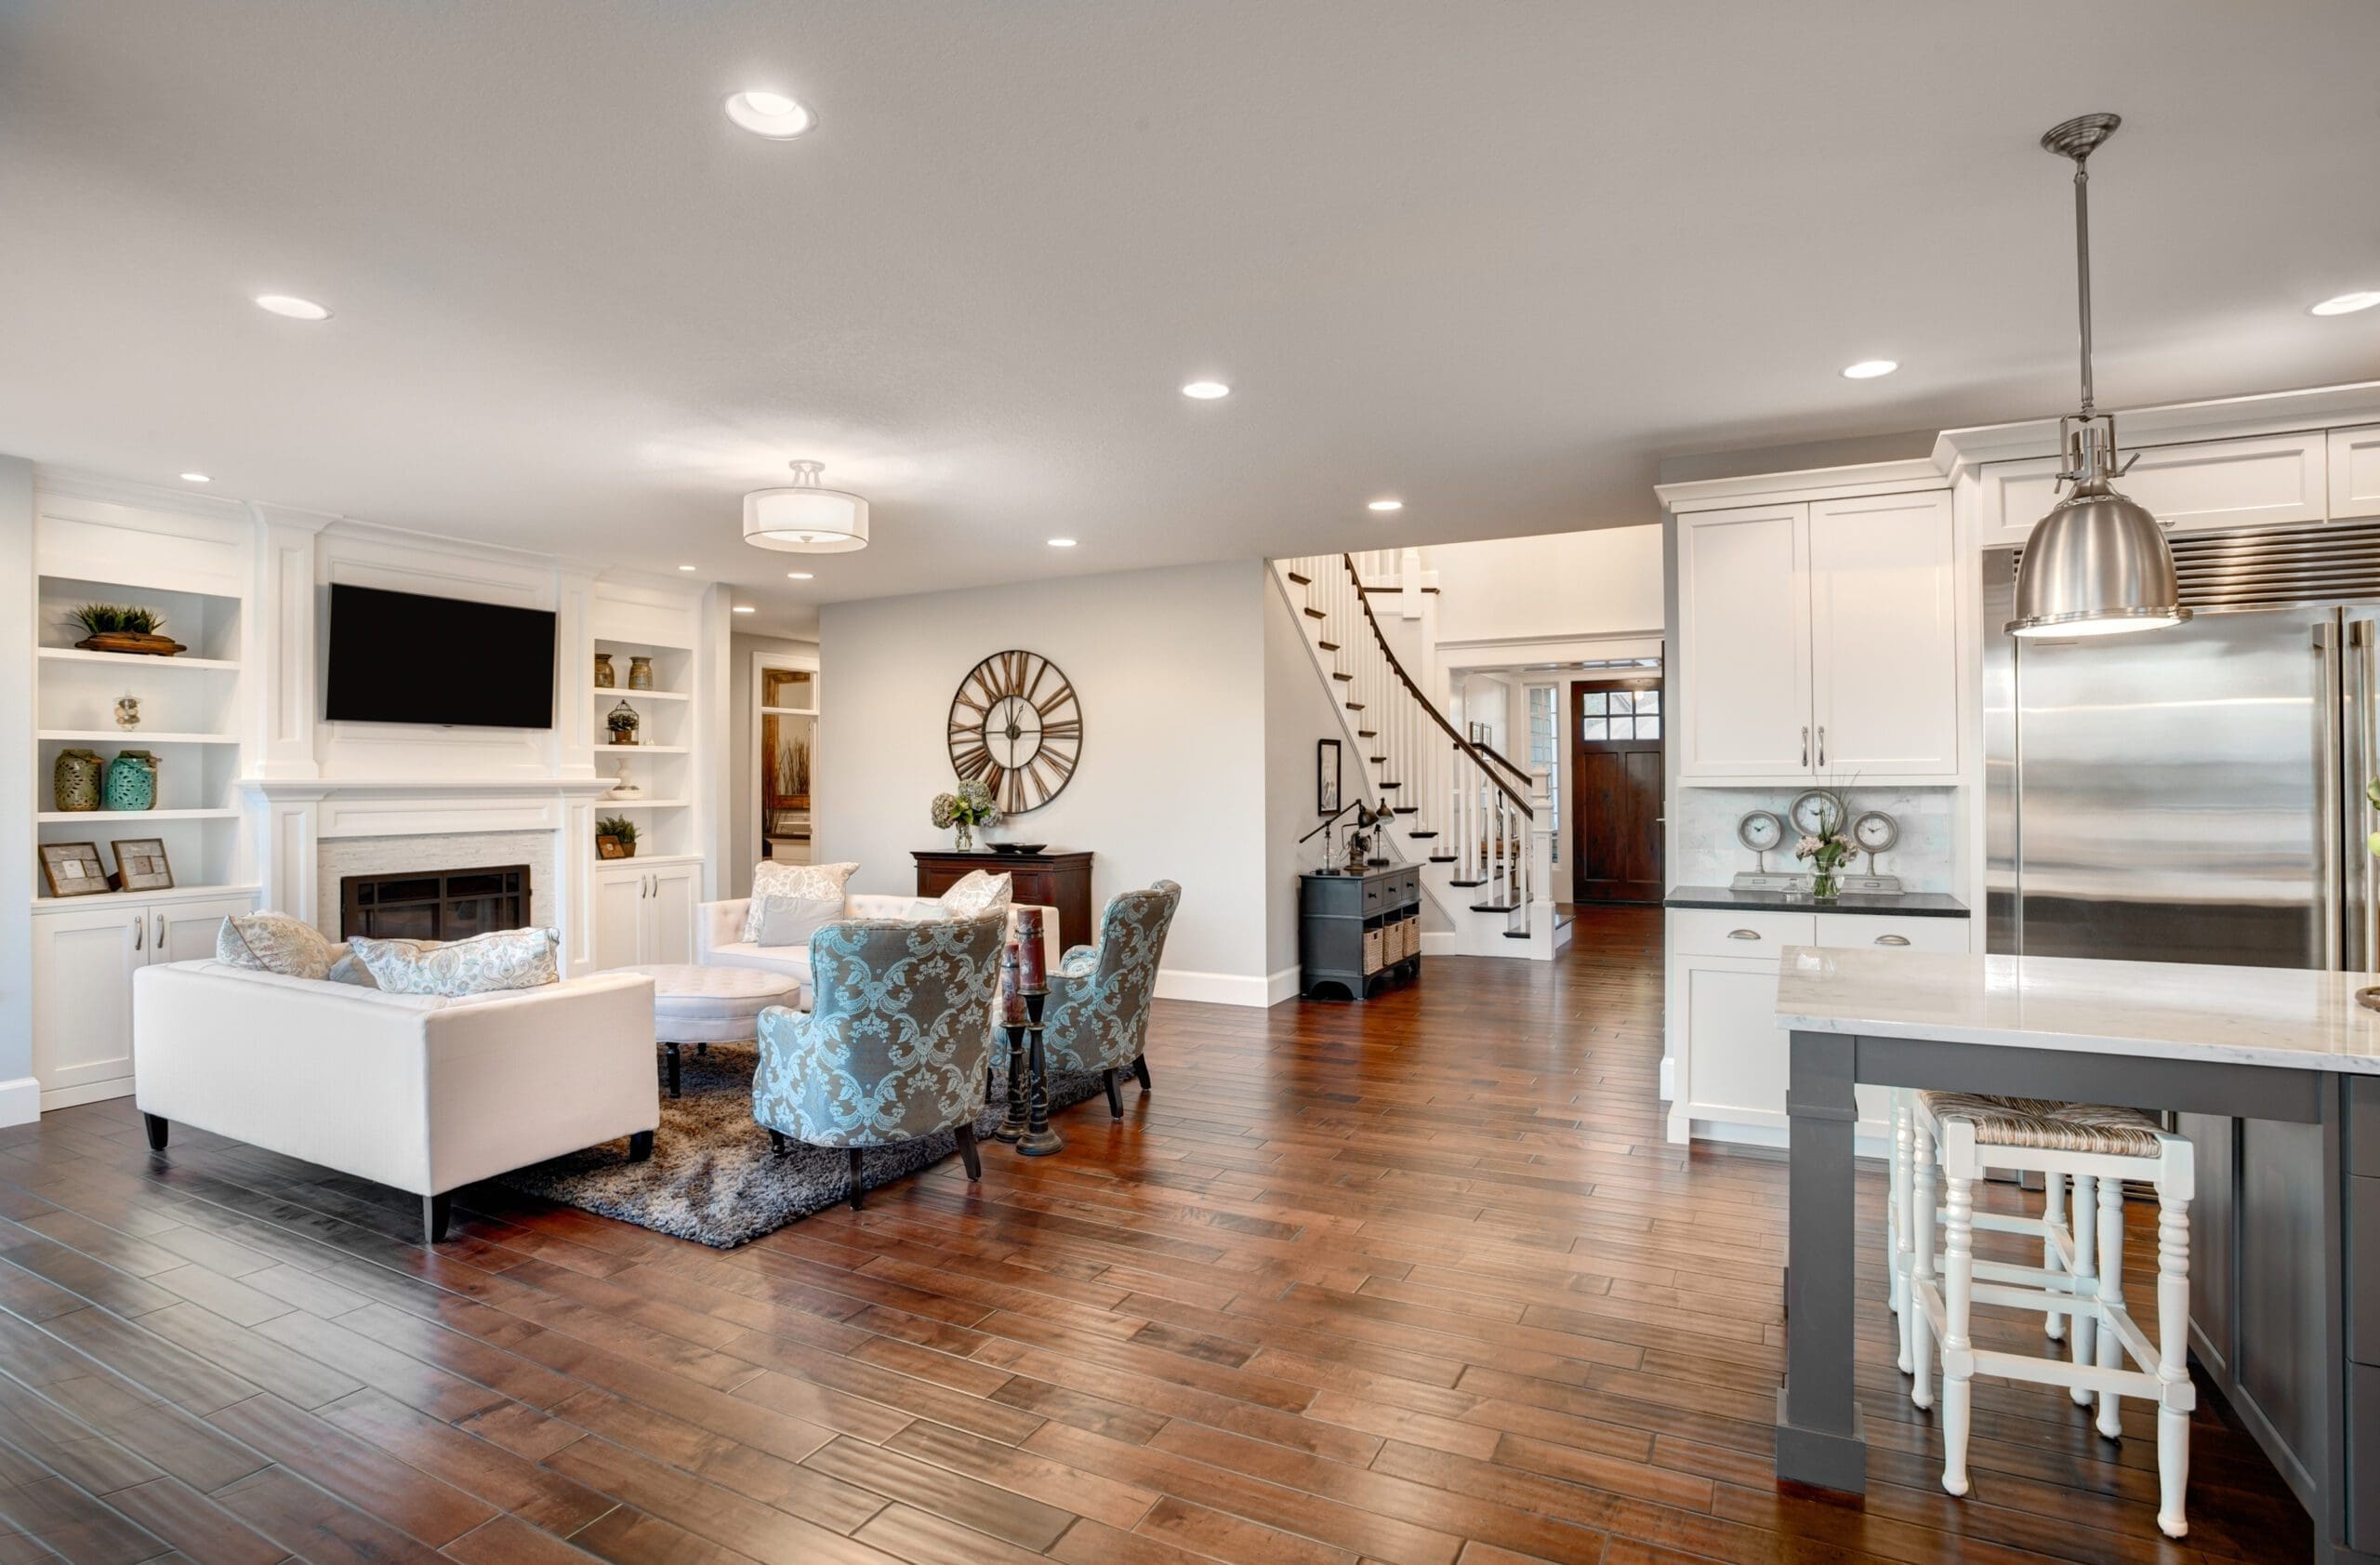
And remember, consistency is key – try to keep the lighting the same in both the before and after shots. If you can take them in the same spot and time of day for a smooth transition from before to after. If that isn’t an option, make sure you’re getting the same amount of light for both images, even if that means dragging in lights. For smaller subjects, battery-powered LEDs can work magic for maintaining consistency. Bonus points if they can change colors!


Notice how just the lighting can transform the entire room.
Adjust Your Camera Settings
Don’t be shy about fiddling with your phone’s camera settings. Adjust the focus and lighting to get the best shot. Not sure how to do it? Google “[your phone model] + how to adjust camera settings” and dive into the tutorial world. There’s a how-to guide for everything these days.
Your smartphone or digital camera is like a secret agent with a bunch of hidden talents. Sure, it can snap a decent pic, but did you know it can do somersaults, cartwheels, and even a little salsa if you let it?
Here’s the deal: diving into your camera settings is like taking a rollercoaster ride through a land of untapped potential. Your mission, should you choose to accept it, is to explore each twist and turn – from exposure adjustments to focus tweaks and white balance wonders. It’s all about trying out new moves and learning how to make your camera dance to your tune.
And the best part? This adventure won’t cost you a single penny. Yet, it could transform your photos from ‘meh’ to ‘marvelous’, giving your business that extra sparkle.

Unleash your inner Spielberg and take your photography game to new heights.
Keep Your Perspective Consistent
Try to take your before and after photos from the same spot and angle. Most phone cameras have a grid setting you can use to line up your shots. Use static objects like a room corner or a window as reference points. This will make your before-and-after transformation even more dramatic!
For videos,set your camera up in the same position for both shots. As with photos, you will also want to use a grid setting or reference points to ensure that each shot is lined up exactly the same way.

Steady Does It
Avoid the blur by using a tripod or resting your phone on something stable. Your hand might shake in the excitement of capturing that perfect ‘after’ shot, and we don’t want that, do we?
You see, in the world of photography, steadiness is more than just a nice-to-have – it’s the key factor that separates the wobbly ‘meh’ shots from the super-crisp ‘wow’ ones!

By using a tripod or resting your phone or camera on something stable, you’re giving your photos the solid foundation they need to really shine.
Think of it like building a house. You wouldn’t start laying bricks without a solid foundation, right?
Same goes for your photos. Without a steady hand (or helpful prop), your photos can end up looking like a shaky mess, no matter how amazing your work is.
And remember, tripods aren’t just for fancy photographers with big cameras. There are plenty of affordable, smartphone-friendly options out there. Or in a pinch, you can get creative with what you have around you. Stack of books? Makeshift tripod. A shelf? All perfect spots for resting your phone!
Personally, I have a pop socket on the back of my phone case. So, I’m able to pop it out and hang it off of things like baskets and trays with shorter edges. (Be careful if you try this trick! I can’t afford to pay for your phone replacement AND mine when you set it up precariously and drop it like I have so many times!)
So, the next time you’re about to snap a pic, take a moment to steady your shot. Your followers will thank you, and your photos will look like they’ve just stepped off the pages of a glossy magazine.
Go Wide or Go Home
Ever found yourself squished in a tiny bathroom, trying to capture the entire room from the doorway? Or maybe you’ve stood at the edge of a vast landscape, wishing your phone camera could just… stretch a little bit? Well, guess what? There’s a thing for that! Most newer models of phones give you the ability to zoom out to at least 0.6x to capture a much wider image than possible at 1x or higher.
Wide-angle lenses are like that extra slice of pizza when you’re really hungry – they just make everything better. They have this superpower of fitting large spaces into one frame, making them perfect for those grand, sweeping vistas or quirky, cramped corners.
Think of it this way: Your phone camera without a wide-angle lens is like a sandwich without the fillings – it gets the job done, but it’s a little bit bland. A wide-angle lens, on the other hand, is like slapping some spicy mayo, crunchy lettuce, and juicy tomatoes onto that bread – it adds flavor, depth, and a whole lot of zing to your shots!
But what if your phone doesn’t come with a built-in wide-angle lens?
No worries! We live in an age where there’s a solution for everything, and this is no exception. There are tons of lens attachments out there that can transform your regular phone camera into a wide-angle wonder. You attach one of these magical gadgets to your phone, and voila! You’ve got yourself a wide-angle lens.
It’s like adding a turbo boost to your old bicycle – suddenly, everything’s faster, smoother, and way more exciting!
Whether you’re a selfie superstar, a landscape lover, or a budding bathroom interior designer, remember – going wide can take your photography game from ‘meh’ to ‘marvelous’. So why not give it a shot?

Get Up Close and Personal
Ever heard the saying, “the devil is in the detail?” Well, when it comes to photography, this couldn’t be more true.
Whether it’s the vibrant pattern on a butterfly’s wing or the intricate icing on a homemade cupcake, sometimes it’s those tiny, hidden gems that can turn a good photo into a great one.
Close-up shots are like the secret hamburger and spice mixture your dad used to make in your childhood – they add a delicious layer of intrigue and interest. They allow you to highlight dramatic changes, reveal surprising textures, and showcase intricate details. It’s like taking your audience on a mini-adventure, zooming in to explore a whole new world within the frame.
But how do you capture these detail shots? It’s simpler than you think. Most smartphones today come equipped with a macro mode or an option to zoom in. So all you need to do is activate this feature, get closer to your subject, and snap away! It’s like using a magnifying glass to reveal the hidden wonders of your subject.
Now, if your phone doesn’t have this feature, don’t sweat it. There’s always a workaround. You can invest in a macro lens attachment – it’s like giving your phone a pair of super-cool binoculars!
And hey, don’t forget about lighting. Good lighting is like the cherry on top of your photography sundae – it can make or break a shot. So, experiment with different sources and levels of light to get the perfect detail shot.
Explore the world of close-ups!
Show off those dramatic changes, highlight those intricate details, and let your photos tell a story. After all, in the world of photography, it’s often the smallest details that make the biggest impact.
(it was Lipton’s French onion soup mix mixed into the burger, BTW… that’s what made my childhood burgers so good. You’re welcome.)


Take Multiple Shots
Whoa, hold up there, Picasso!
Before you press that shutter button once and move on, let me drop a little wisdom nugget your way: when it comes to photography, the “one and done” method is about as effective as a chocolate teapot.
Yup, you heard that right!
Think about it. You’re at your favorite band’s concert, they’re rocking out on stage, and you’ve got your phone up, ready to capture the magic. Do you take just one photo and call it a day?
Heck no! You snap away like a caffeinated paparazzo, capturing every jump, every chord, every bead of sweat.
Why? Because you know that in that flurry of photos, there’s bound to be a few that capture the energy, the emotion, the essence of the moment.
The same principle applies to detail shots. Just because your subject isn’t strumming a guitar or belting out a high note doesn’t mean it doesn’t deserve the same level of attention.
So, channel your inner paparazzo and go to town!
Experiment with angles – get high, get low, get sideways. Try different lighting conditions – bright, soft, shadowy. Play around with focus – sharp foreground, blurred background, and vice versa.
The point is, go bananas! The more shots you take, the more material you have to work with.
Sure, you might end up with a bunch of duds – shots that are too dark, too blurry, or just plain meh. But amidst those duds, you’re bound to find a few diamonds – shots that perfectly capture the texture of that leaf, the glint in that eye, the pattern on that butterfly wing.
Remember, photography is not a sprint; it’s a marathon. It’s not about getting that perfect shot in one go; it’s about trial and error. Patience and persistence. So, keep clicking, keep experimenting, keep exploring.

Edit with Consistency
So you’ve got your shots all lined up, ready to go from raw to ravishing.
But wait!
Before you dive headfirst into the wild world of photo editing, let’s chat about one crucial ingredient: consistency.
Think about it like this. You’re making a sandwich. You’ve got two slices of bread – these are your before and after photos. Now, you wouldn’t slather peanut butter on one slice and squirt mustard on the other, would you? I mean, unless you’re into that sort of thing. No judgment here! (That’s a lie. There are very few things I would judge a person on. A peanut butter and mustard sandwich makes that list… near the top, actually.)
Most of us would stick to the same spread on both slices, right?
That’s exactly what we’re talking about when we say “consistent editing”. It’s about keeping your “spread” – or in this case, your edits – the same across both your before and after shots.
Now, I know what you’re thinking. “But I want my photos to pop! I want them to shine, to sparkle!”
And hey, I get it. We all want our photos to look like they just stepped off the red carpet. But remember, there’s a fine line between “glam” and “ham”. Over-editing can make your transformation seem as authentic as a three-dollar bill!
Whether you’re brightening the image, increasing the contrast, or tweaking the saturation, remember the golden rule: keep it real.
Your edits should enhance the photo, not transform it into something it’s not. It’s like applying makeup – you want to highlight your features, not look like a completely different person!
And don’t forget about uniformity. Apply the same edits to both your before and after photos. It’s like matching your socks – it just feels better!
Business photography is about capturing the beauty of the product or the end result, not creating a fantasy. Over-editing can make the transformation seem inauthentic.

Remember, the world needs to see what you have to offer, so don’t keep them waiting.
Grab your camera and start snapping!