I created this guide after struggling with countless vehicle photos that were difficult to use on client websites. As a web designer (not a photographer), I’ve researched practical solutions to the problems I see repeatedly: inconsistent angles, busy backgrounds, poor lighting, and distracting reflections.
This guide will teach you the things I’ve learned work best for capturing ‘good enough’ vehicle photos without professional equipment.
Why This Matters for Your Website
When building websites for vehicle-related businesses, I’ve seen firsthand how image quality directly impacts visitor engagement:
- Clean, consistent photos keep visitors on your site longer
- Professional-looking images build immediate trust
- Clear vehicle features help generate more qualified leads
- Consistent image styles create a more cohesive website design
The difference between poor and good vehicle photography can literally mean the difference between a conversion and a bounce.
Basic Supplies and Equipment You’ll Need
While I’d always recommend a professional photographer with professional equipment for the best results, expensive gear isn’t a necessity to get some usable images for your website.
Here’s the minimum supplies you’ll need:
- Your smartphone
(The newer/better models will have the best cameras) - Car washing supplies
(vehicles photograph terribly when dirty) - Microfiber cloths
(for wiping fingerprints and dust on vehicles and lens smudges on the camera) - Tripod with phone mount
(A tripods is essential to create consistency across your fleet)
Finding the Right Time and Location
Choosing the right lighting and location for your photoshoot is essential to getting a good photo.
Time of Day Matters More Than You Think
- Early morning (first hour after sunrise) or late afternoon (last hour before sunset): These provide soft, even lighting that minimizes harsh reflections
- Avoid midday sun: Creates reflection problems that are difficult to fix later
- Overcast days: Perfect for vehicle photography – the clouds act as a giant diffuser
Location Requirements
When selecting a location, look for:
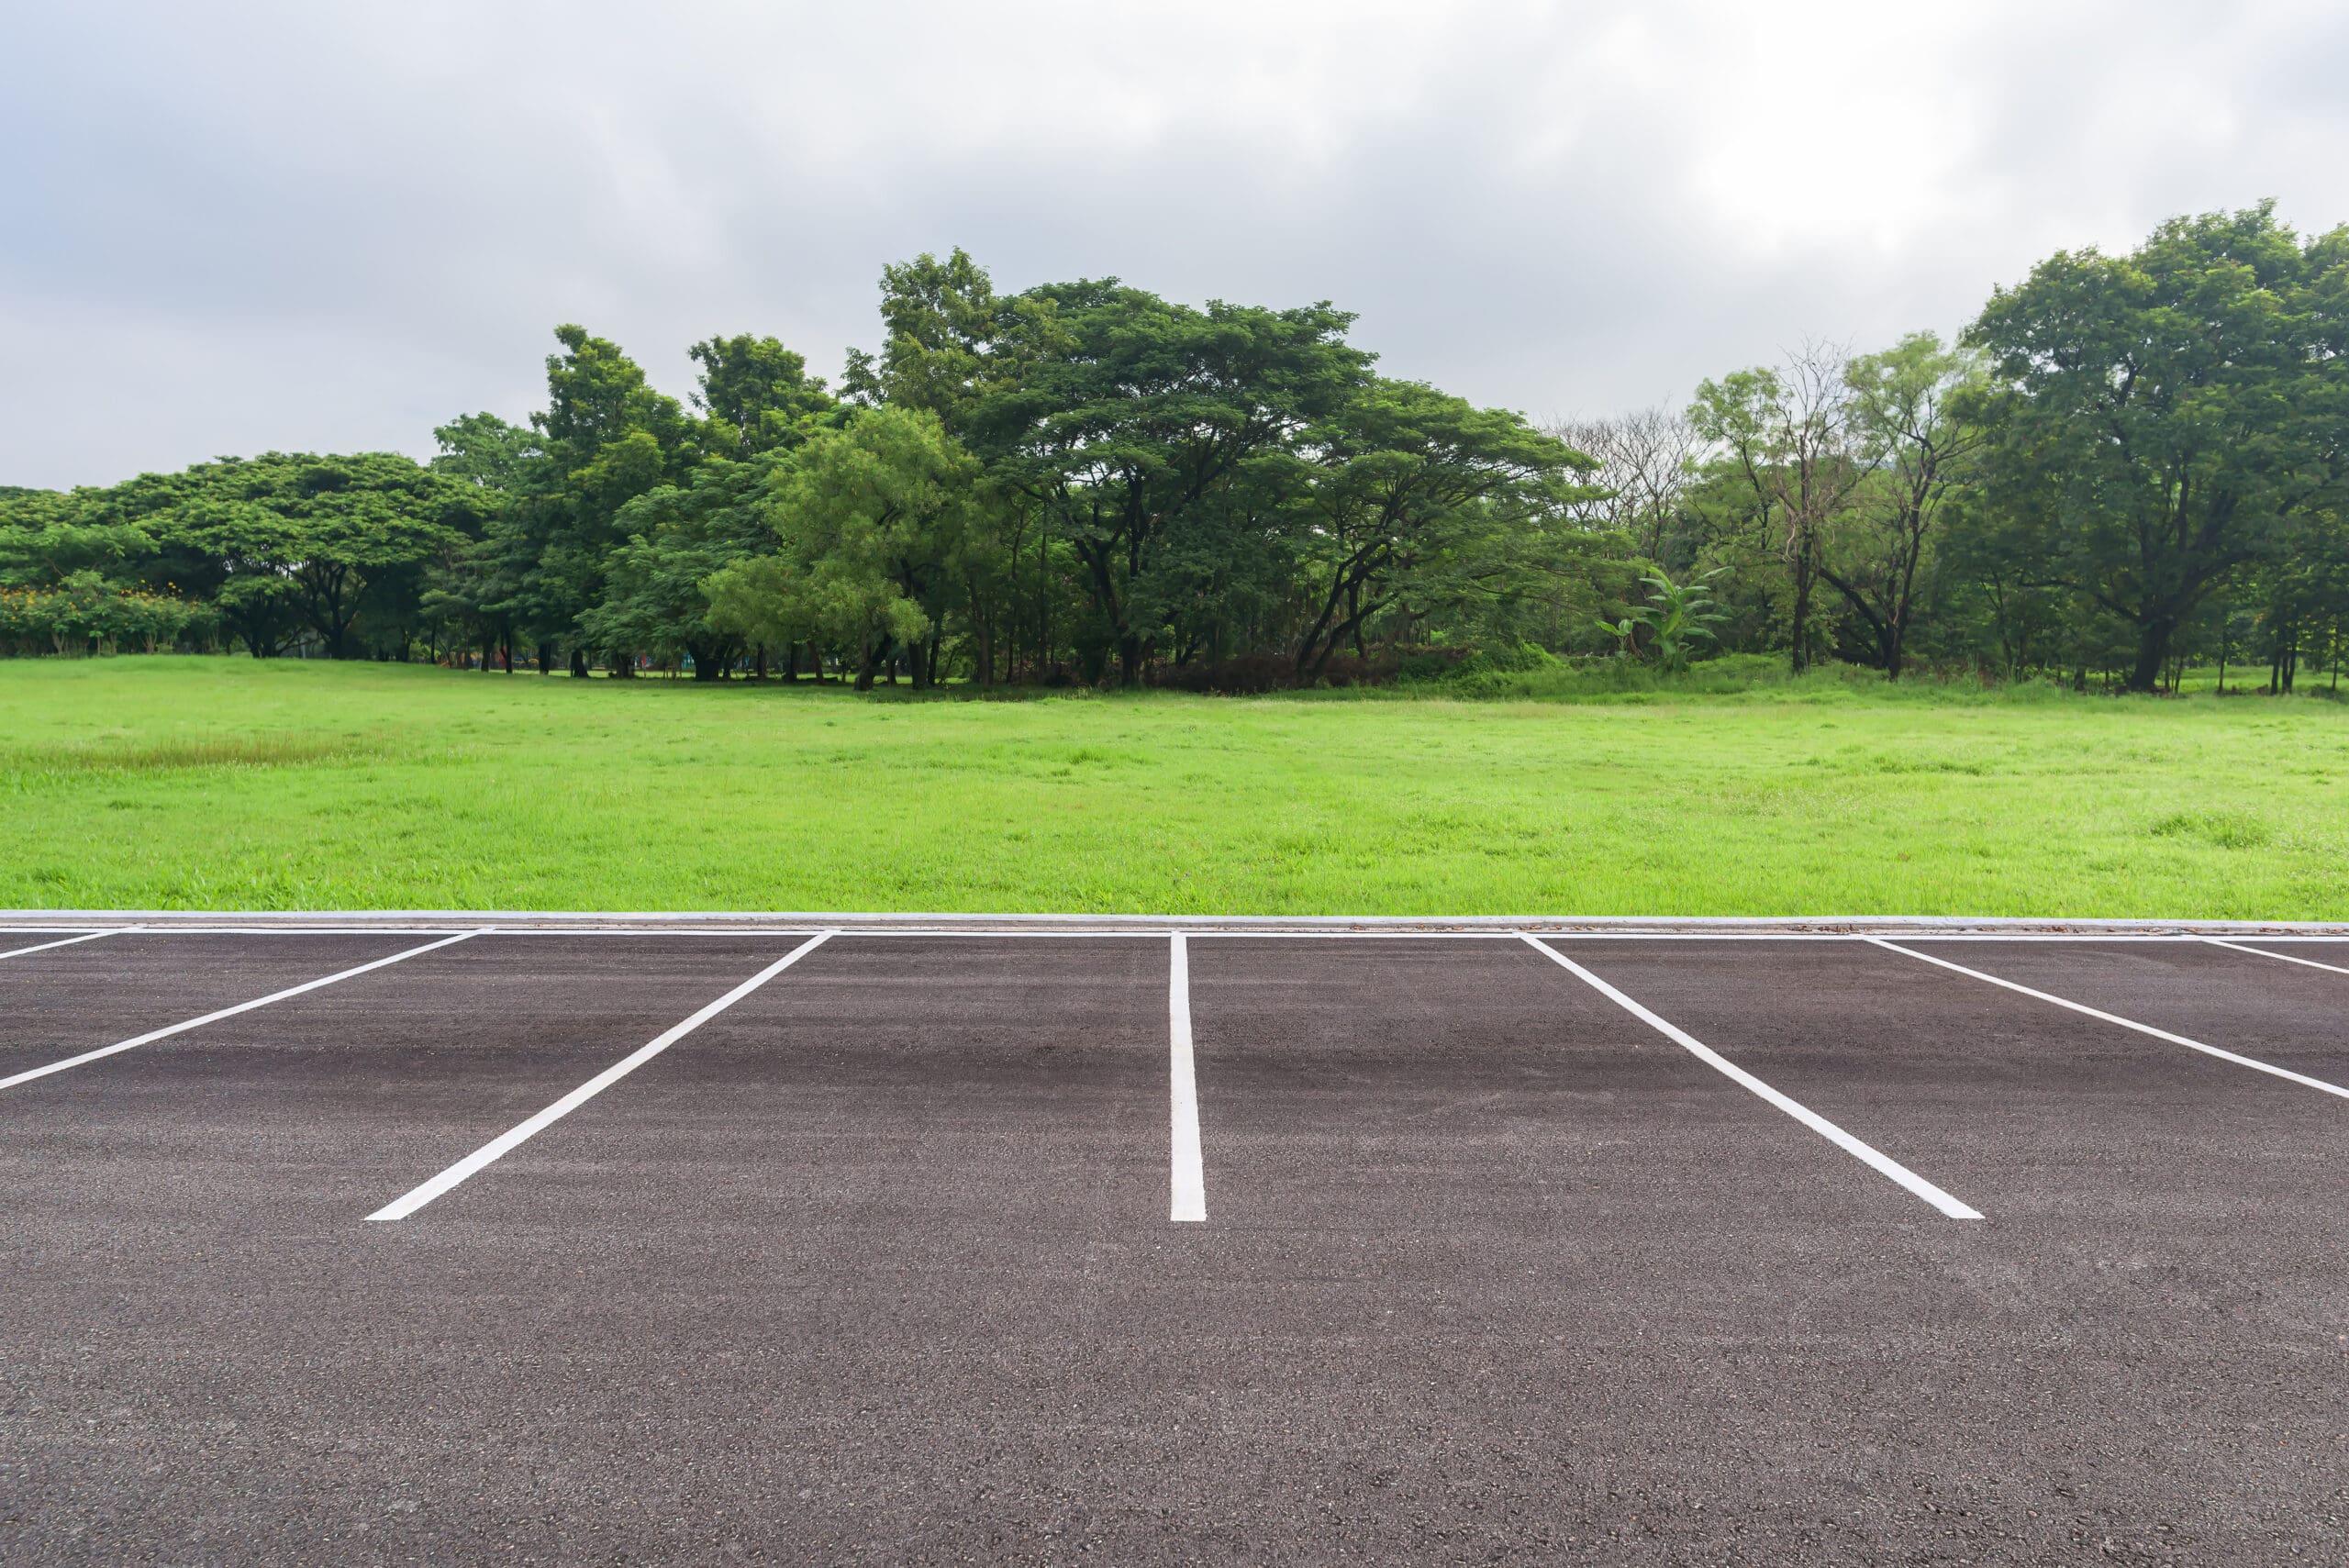
- Clean, simple backgrounds without distractions
- Enough space to move around the entire vehicle
- Neutral surroundings (industrial areas or empty lots work well)
- Background color different from the vehicle (makes removing the background much easier if needed)
For businesses regularly photographing different vehicles:
- Identify 2-3 specific spots in a parking lot with the cleanest backgrounds and always use these same locations.
- Mark the exact vehicle position with chalk or note landmarks for future consistency.
Vehicle Preparation Checklist
Before taking a single photo, these preparation steps will solve many common problems:
✓ Wash exterior thoroughly
(dirt shows up prominently in photos)
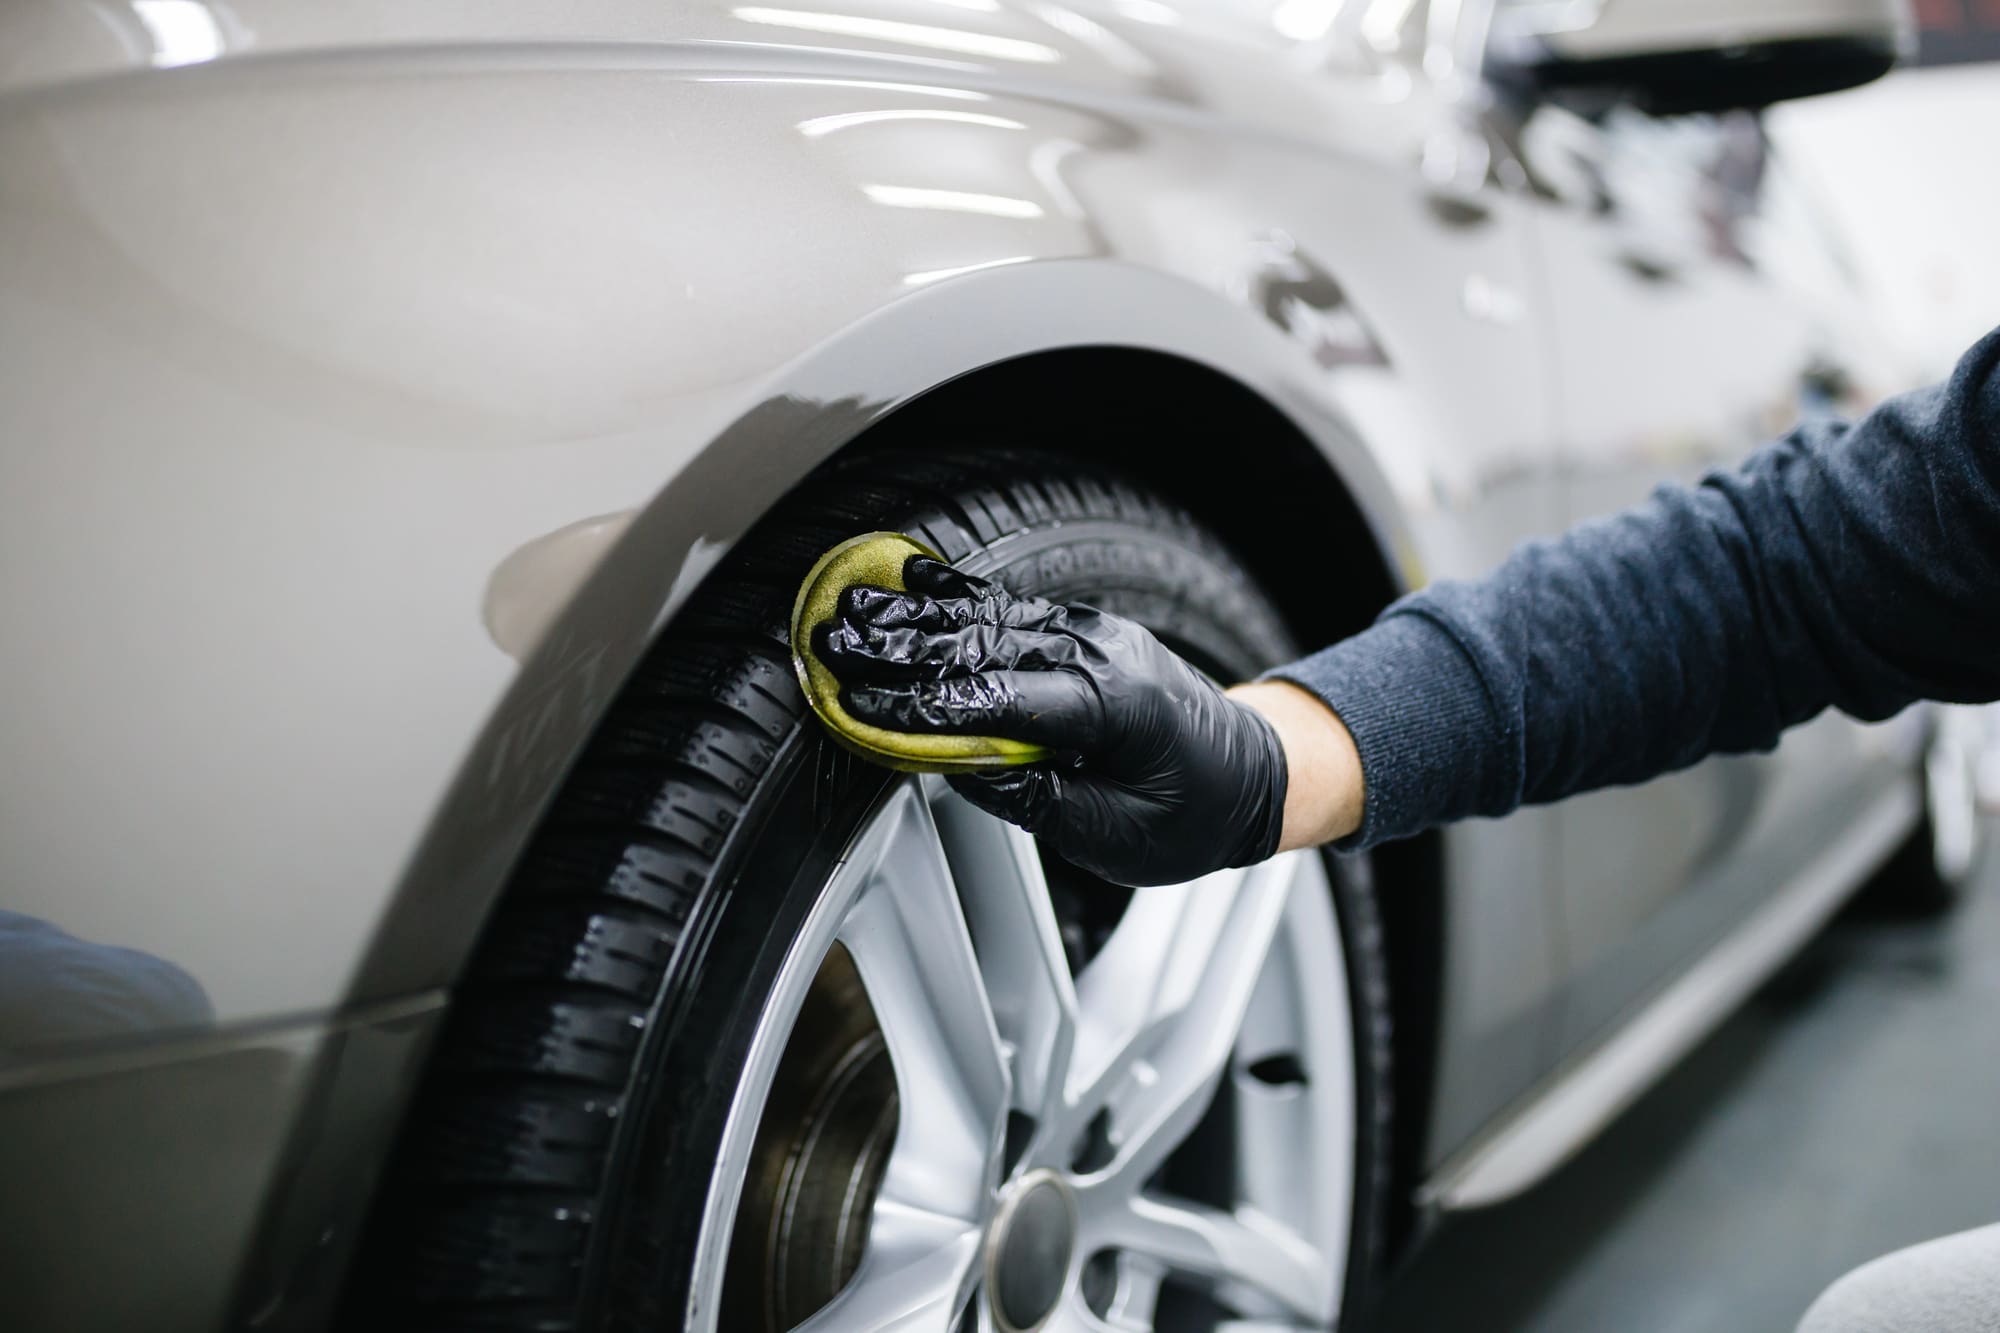
✓ Clean wheels and tires
(dirty tires immediately look unprofessional)
✓ Wipe all windows inside and out
(reflections highlight dirty glass)
✓ Remove all personal items from interior
✓ Vacuum and wipe down interior surfaces
✓ Check for fingerprints on door handles and touchscreens
Additional vehicle prep for consistent results:
✓ Ensure tires are properly inflated
(under-inflated tires look odd when isolated)
✓ Apply tire shine product for a consistent glossy appearance
✓ Position tires so valve stems aren’t visible in main shots
✓ For luxury transport vehicles: Clean interior partition glass thoroughly and turn on ambient lighting if available
Smartphone Camera Setup
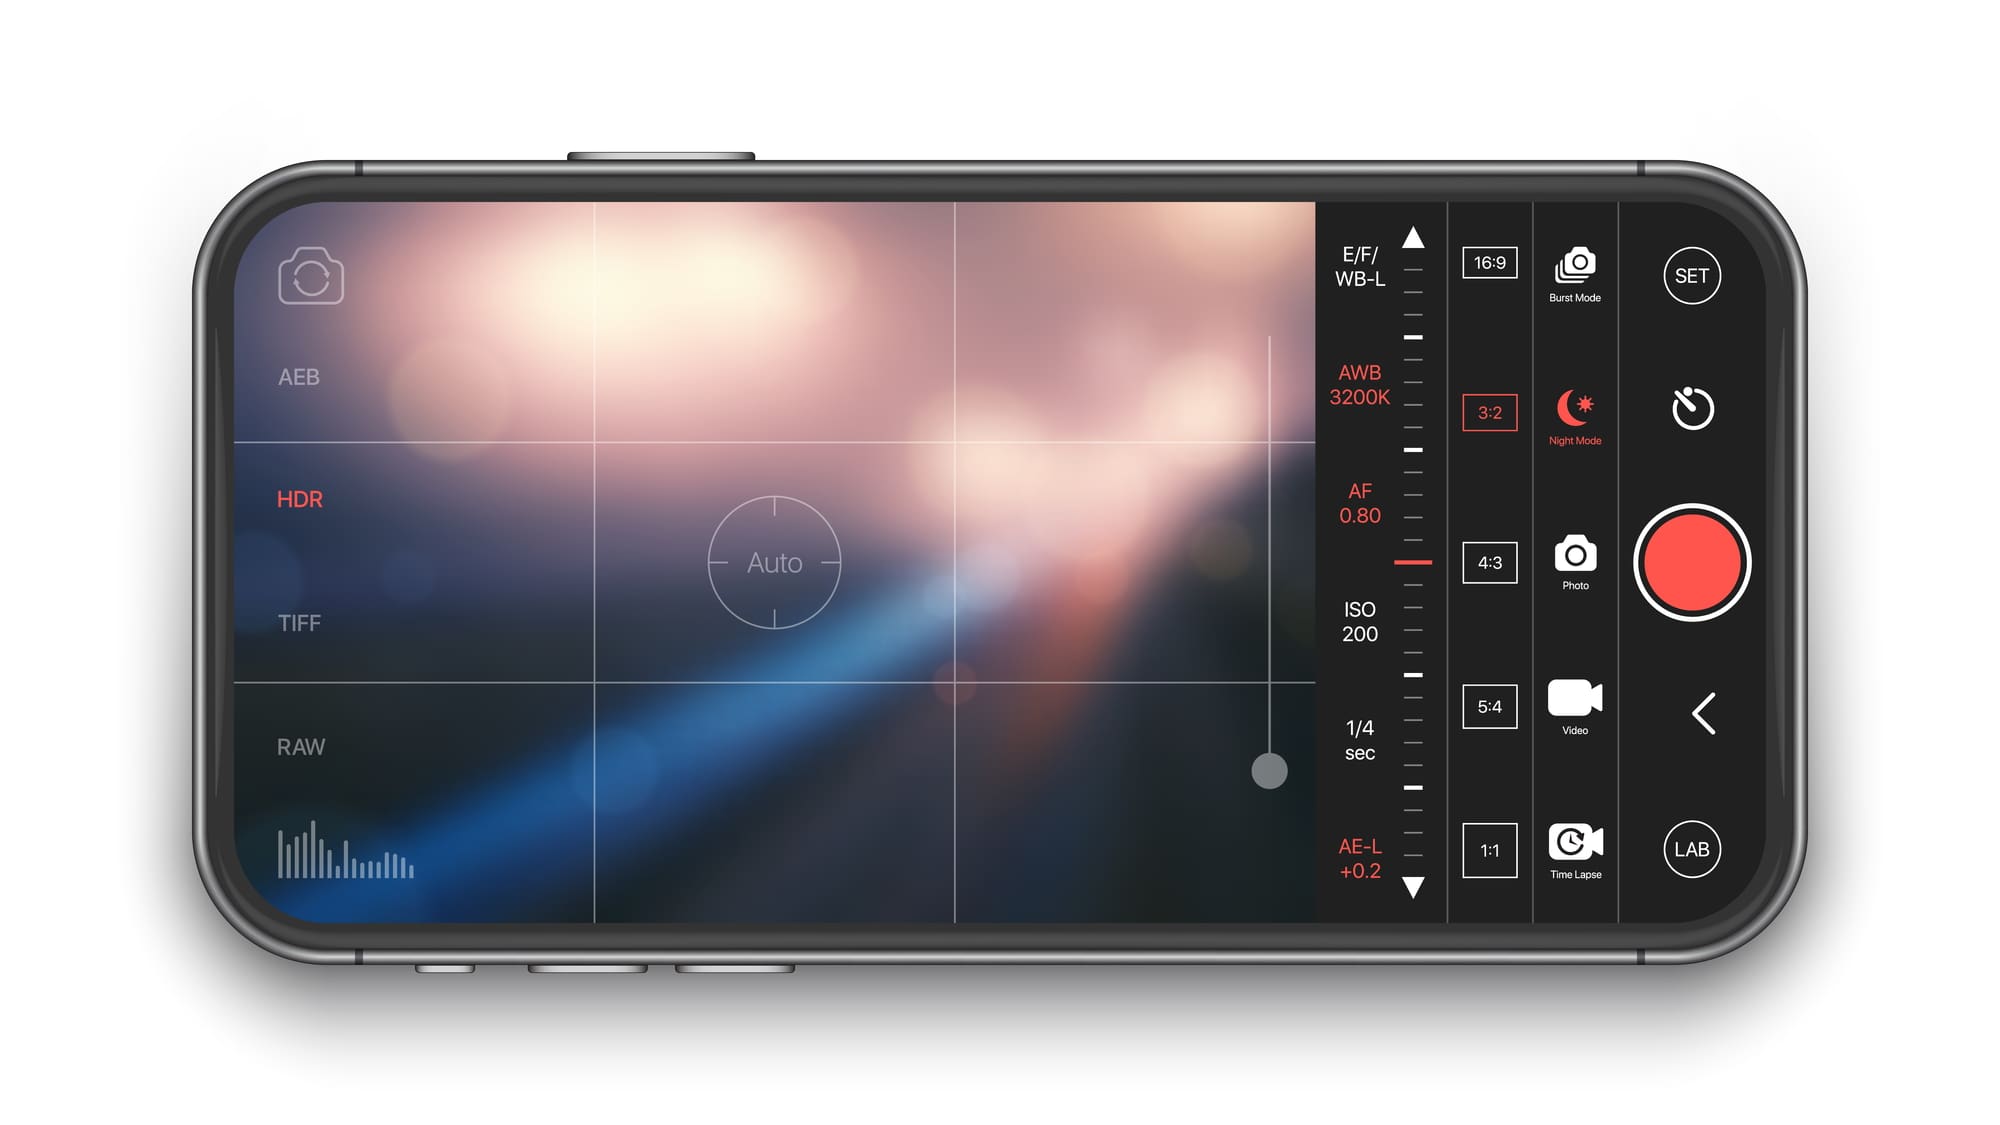
These settings work best for vehicle photos:
- Turn grid lines ON (these are essential for straight photos)
- Enable HDR mode if available (balances shadows and highlights)
- Set resolution to highest available quality
- Turn flash OFF
Creating a Standardized Photography System
Tripod Positioning
Always use a tripod for consistent height and angle across all images. Mark specific spots in your location (with tape or noting landmarks) or create a simple log documenting tripod height and position for each vehicle type.
Camera Grid Positioning
Use the camera grid to keep consistency when taking pictures of different vehicles from the same angle. Line the image up with key points of the vehicle (headlight, tire, edge of the vehicle) touching specific spots on the grid, allowing you to line up each shot the same.
The Essential Shots You Need
These are the most common images people need when photographing vehicles for a website.
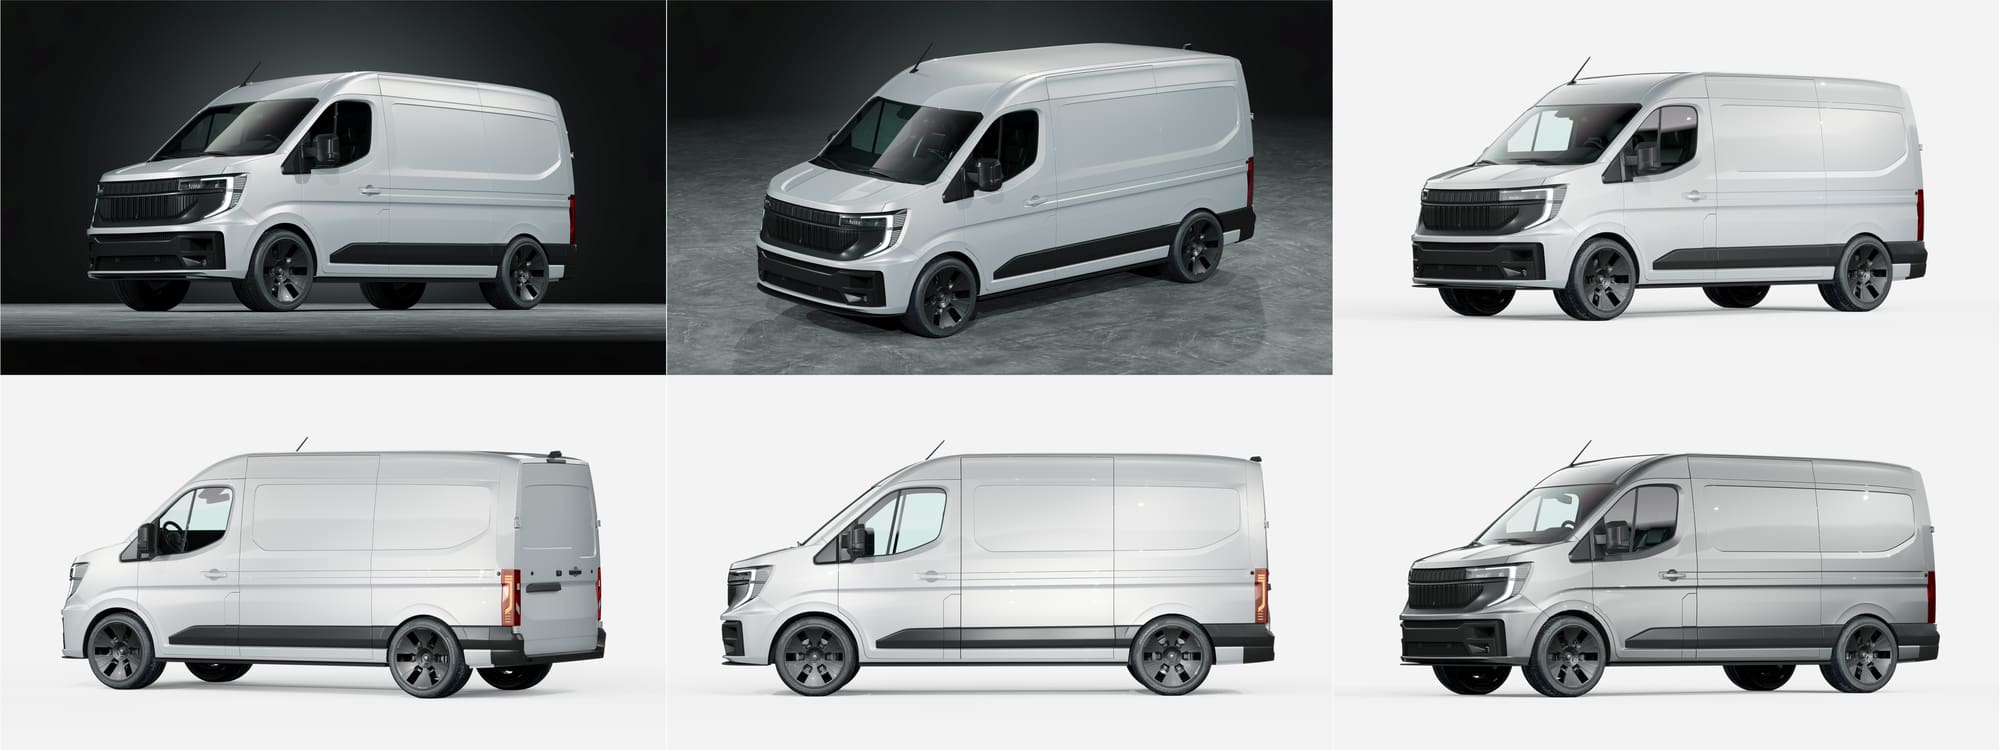
The Primary Exterior Shots:
- Front 3/4 view: Your most important shot – shows both front and side
- Rear 3/4 view: Similar angle from the back corner
- Direct side view: Standing directly beside the vehicle
Additional Options:
- Front view: Straight-on from the front
- Rear view: Straight-on from the back
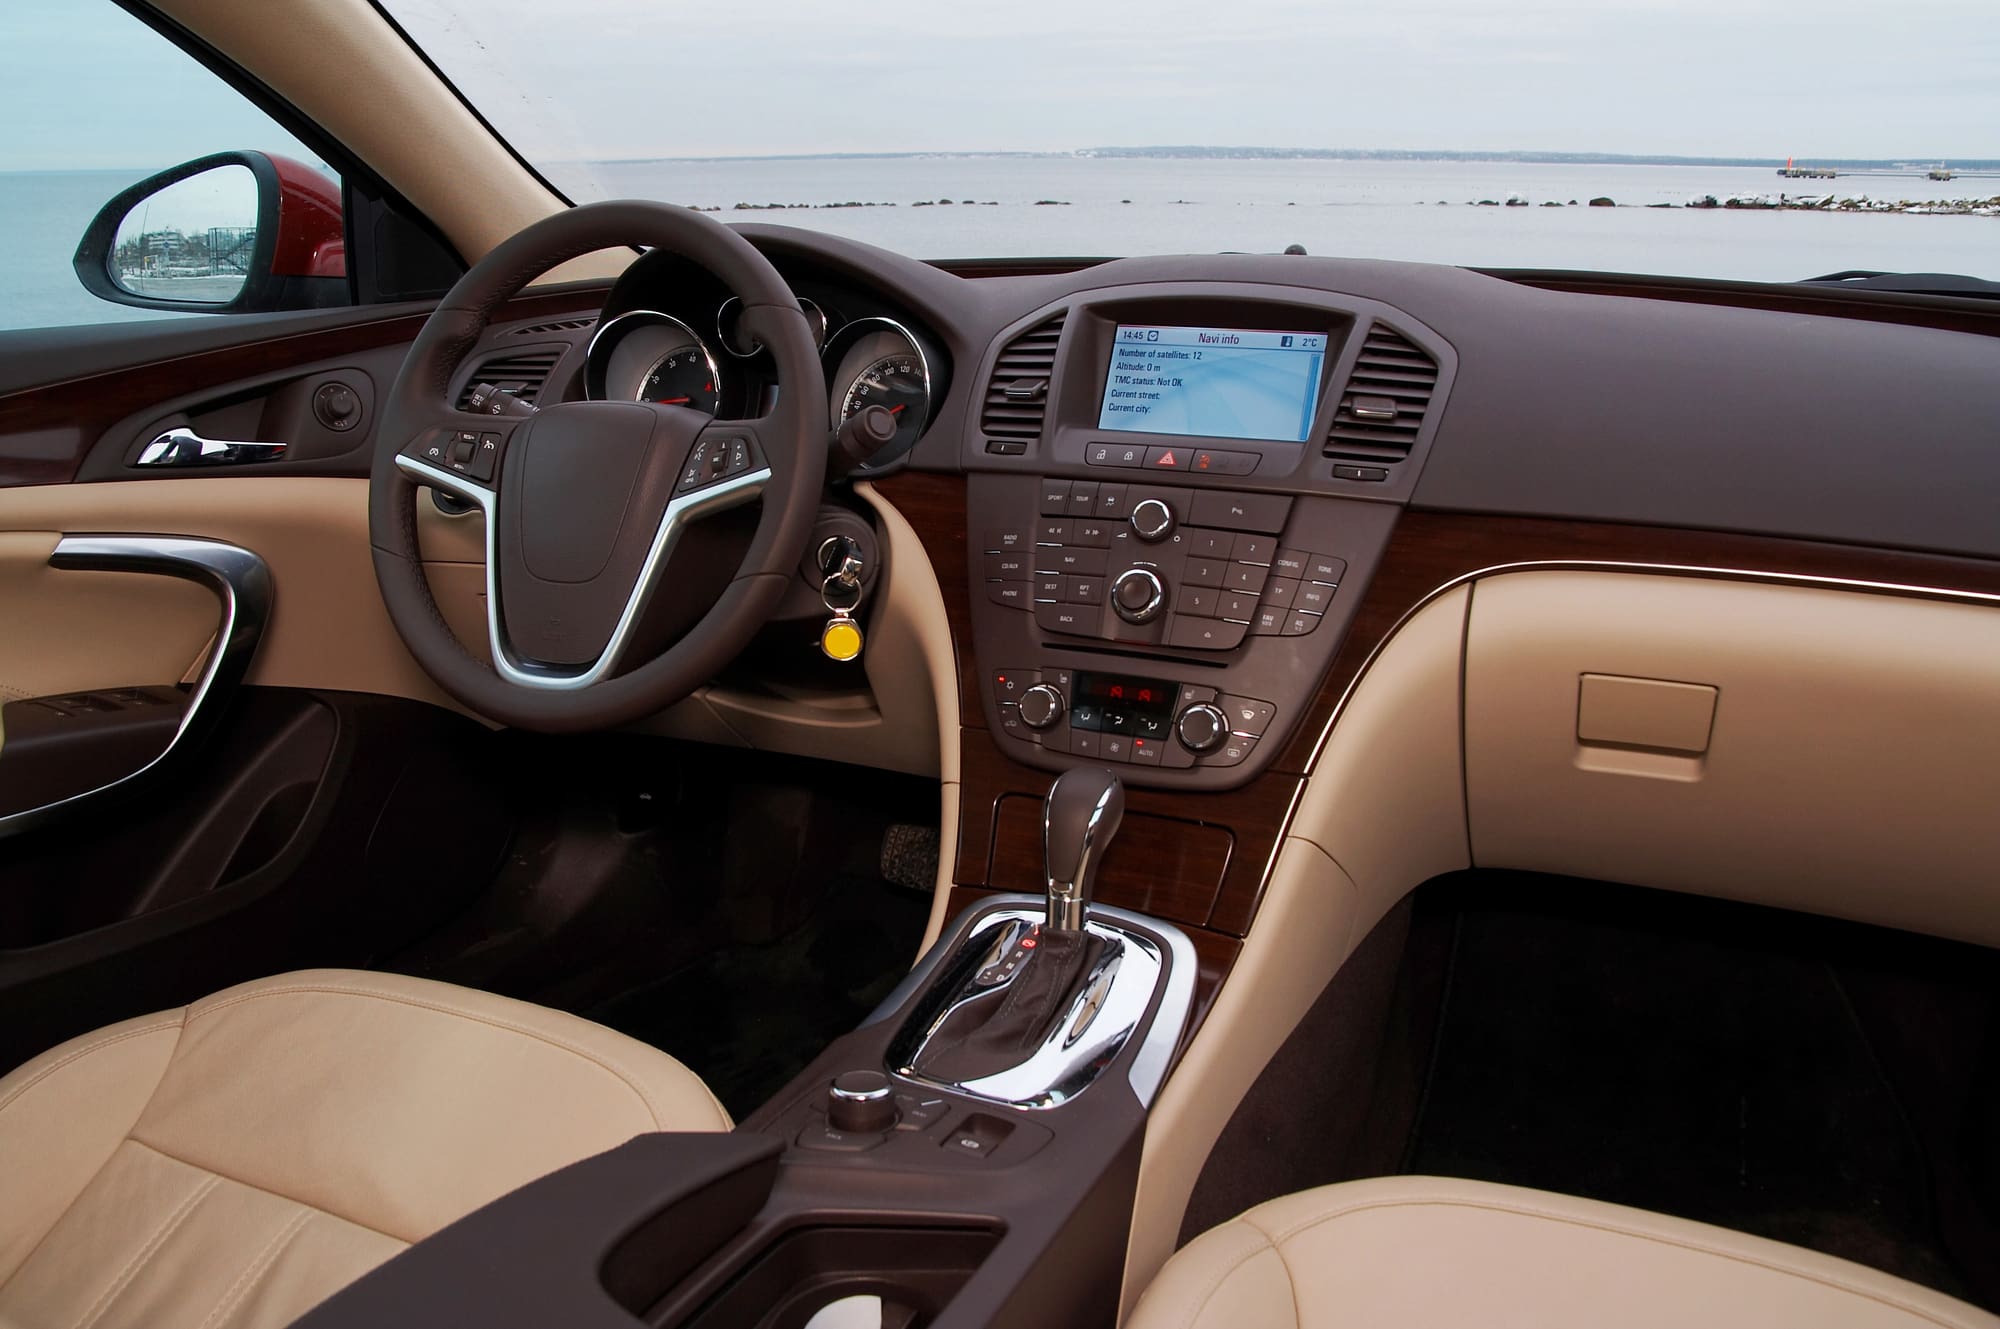
Interior Shots:
- Driver’s area: Showing dashboard and driver’s seat
- Passenger area: Showing rear seats
- Cargo area/trunk: Open and well-lit
- Special features: Any unique elements
For luxury transport vehicles:
Take additional interior shots showing headrest screens, partition glass, and ambient lighting with seats positioned identically across vehicles.
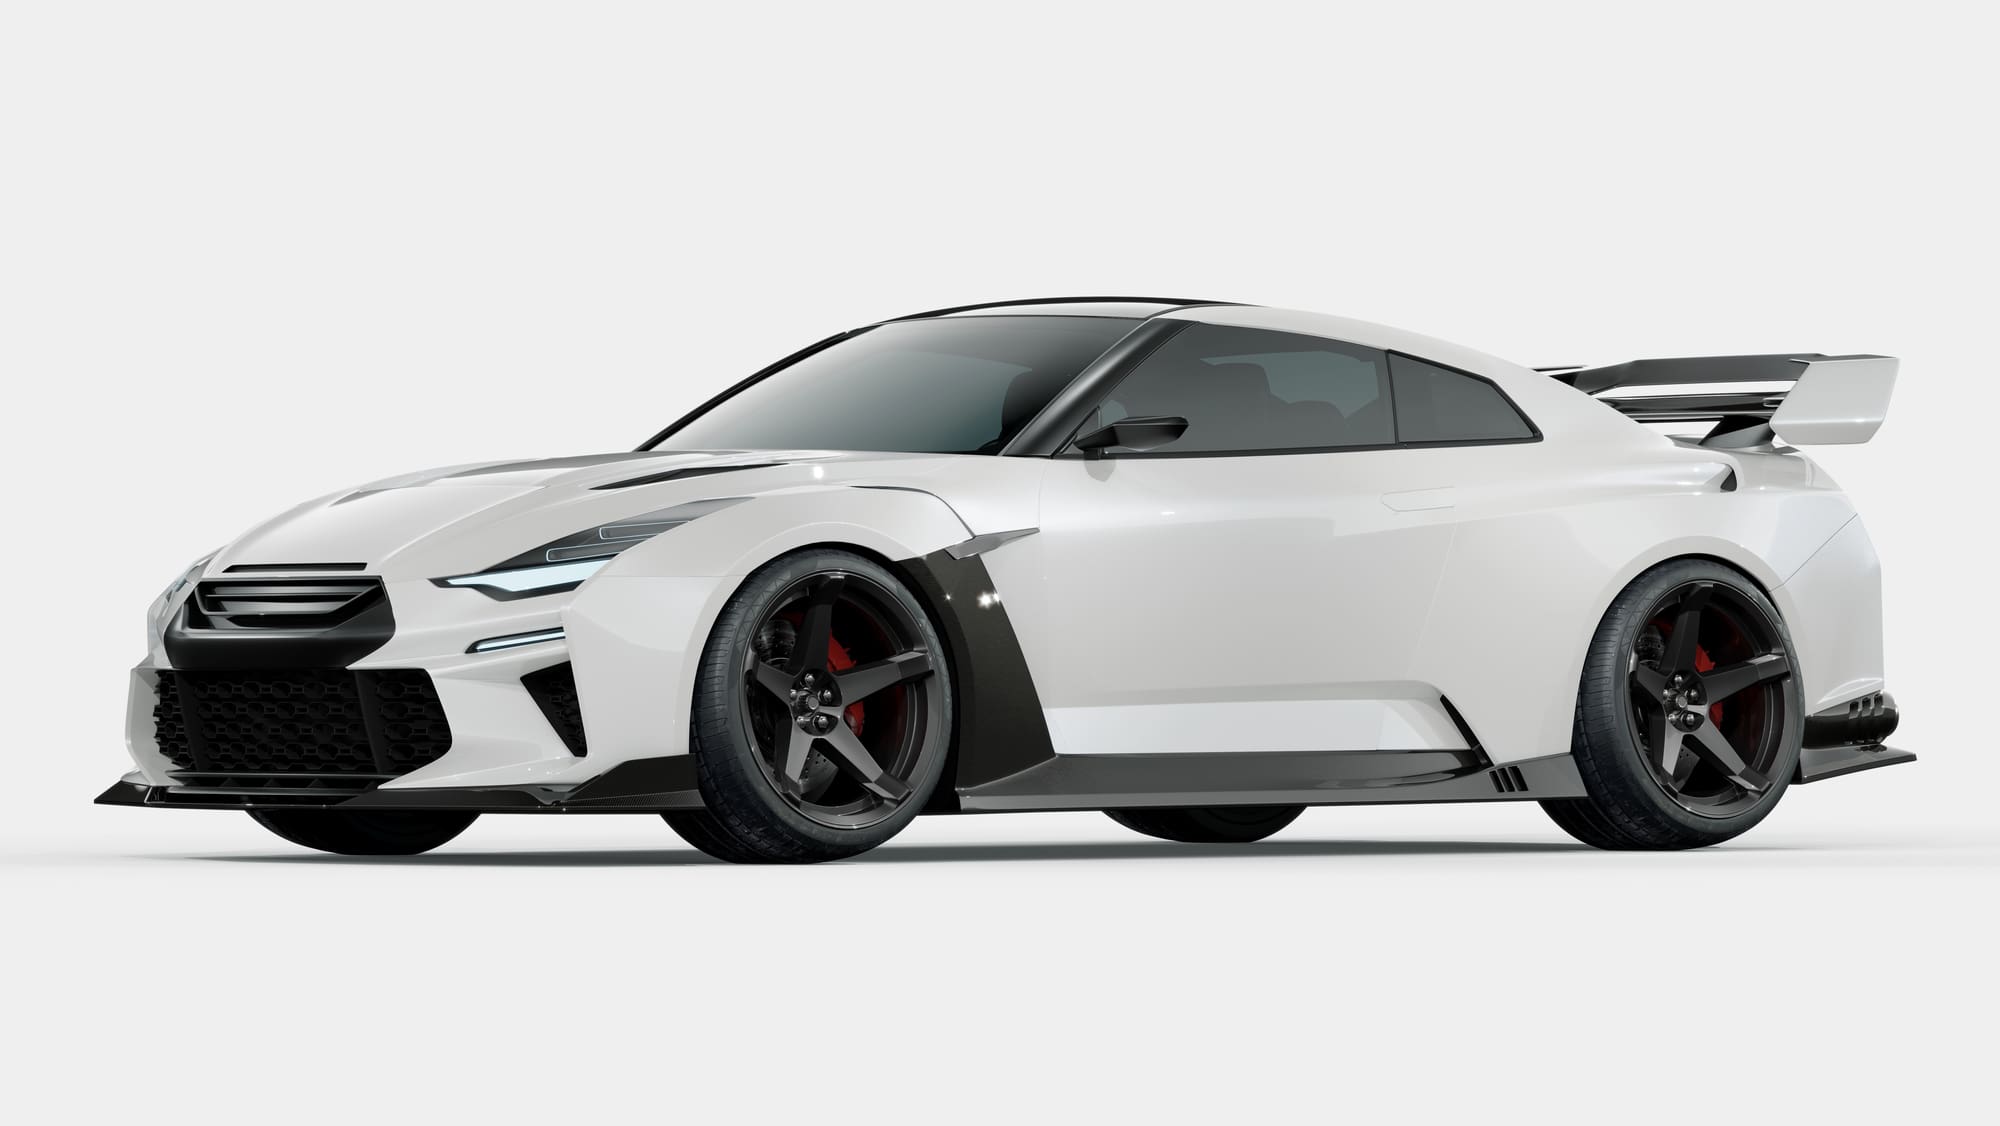
Step-by-Step: Capturing the Perfect Front 3/4 Shot
This is the most important shot for your website. Here’s how to get it right:
- Position vehicle on flat surface with no obstacles around
- Set up tripod at front corner (at approximately the 10 o’clock position if the car is facing 12)
- Adjust tripod to around headlight height
- Enable grid lines to keep everything straight
- Frame the entire vehicle with some space around it
- Check for self-reflections in windows/paint and reposition if needed
- Take multiple variations by slightly shifting position
- Document your exact position and camera settings for consistency with future vehicles
Advanced tip for fleets: Turn wheels slightly away from camera for front shots to show more of the wheel design while maintaining the same wheel position on your grid lines.
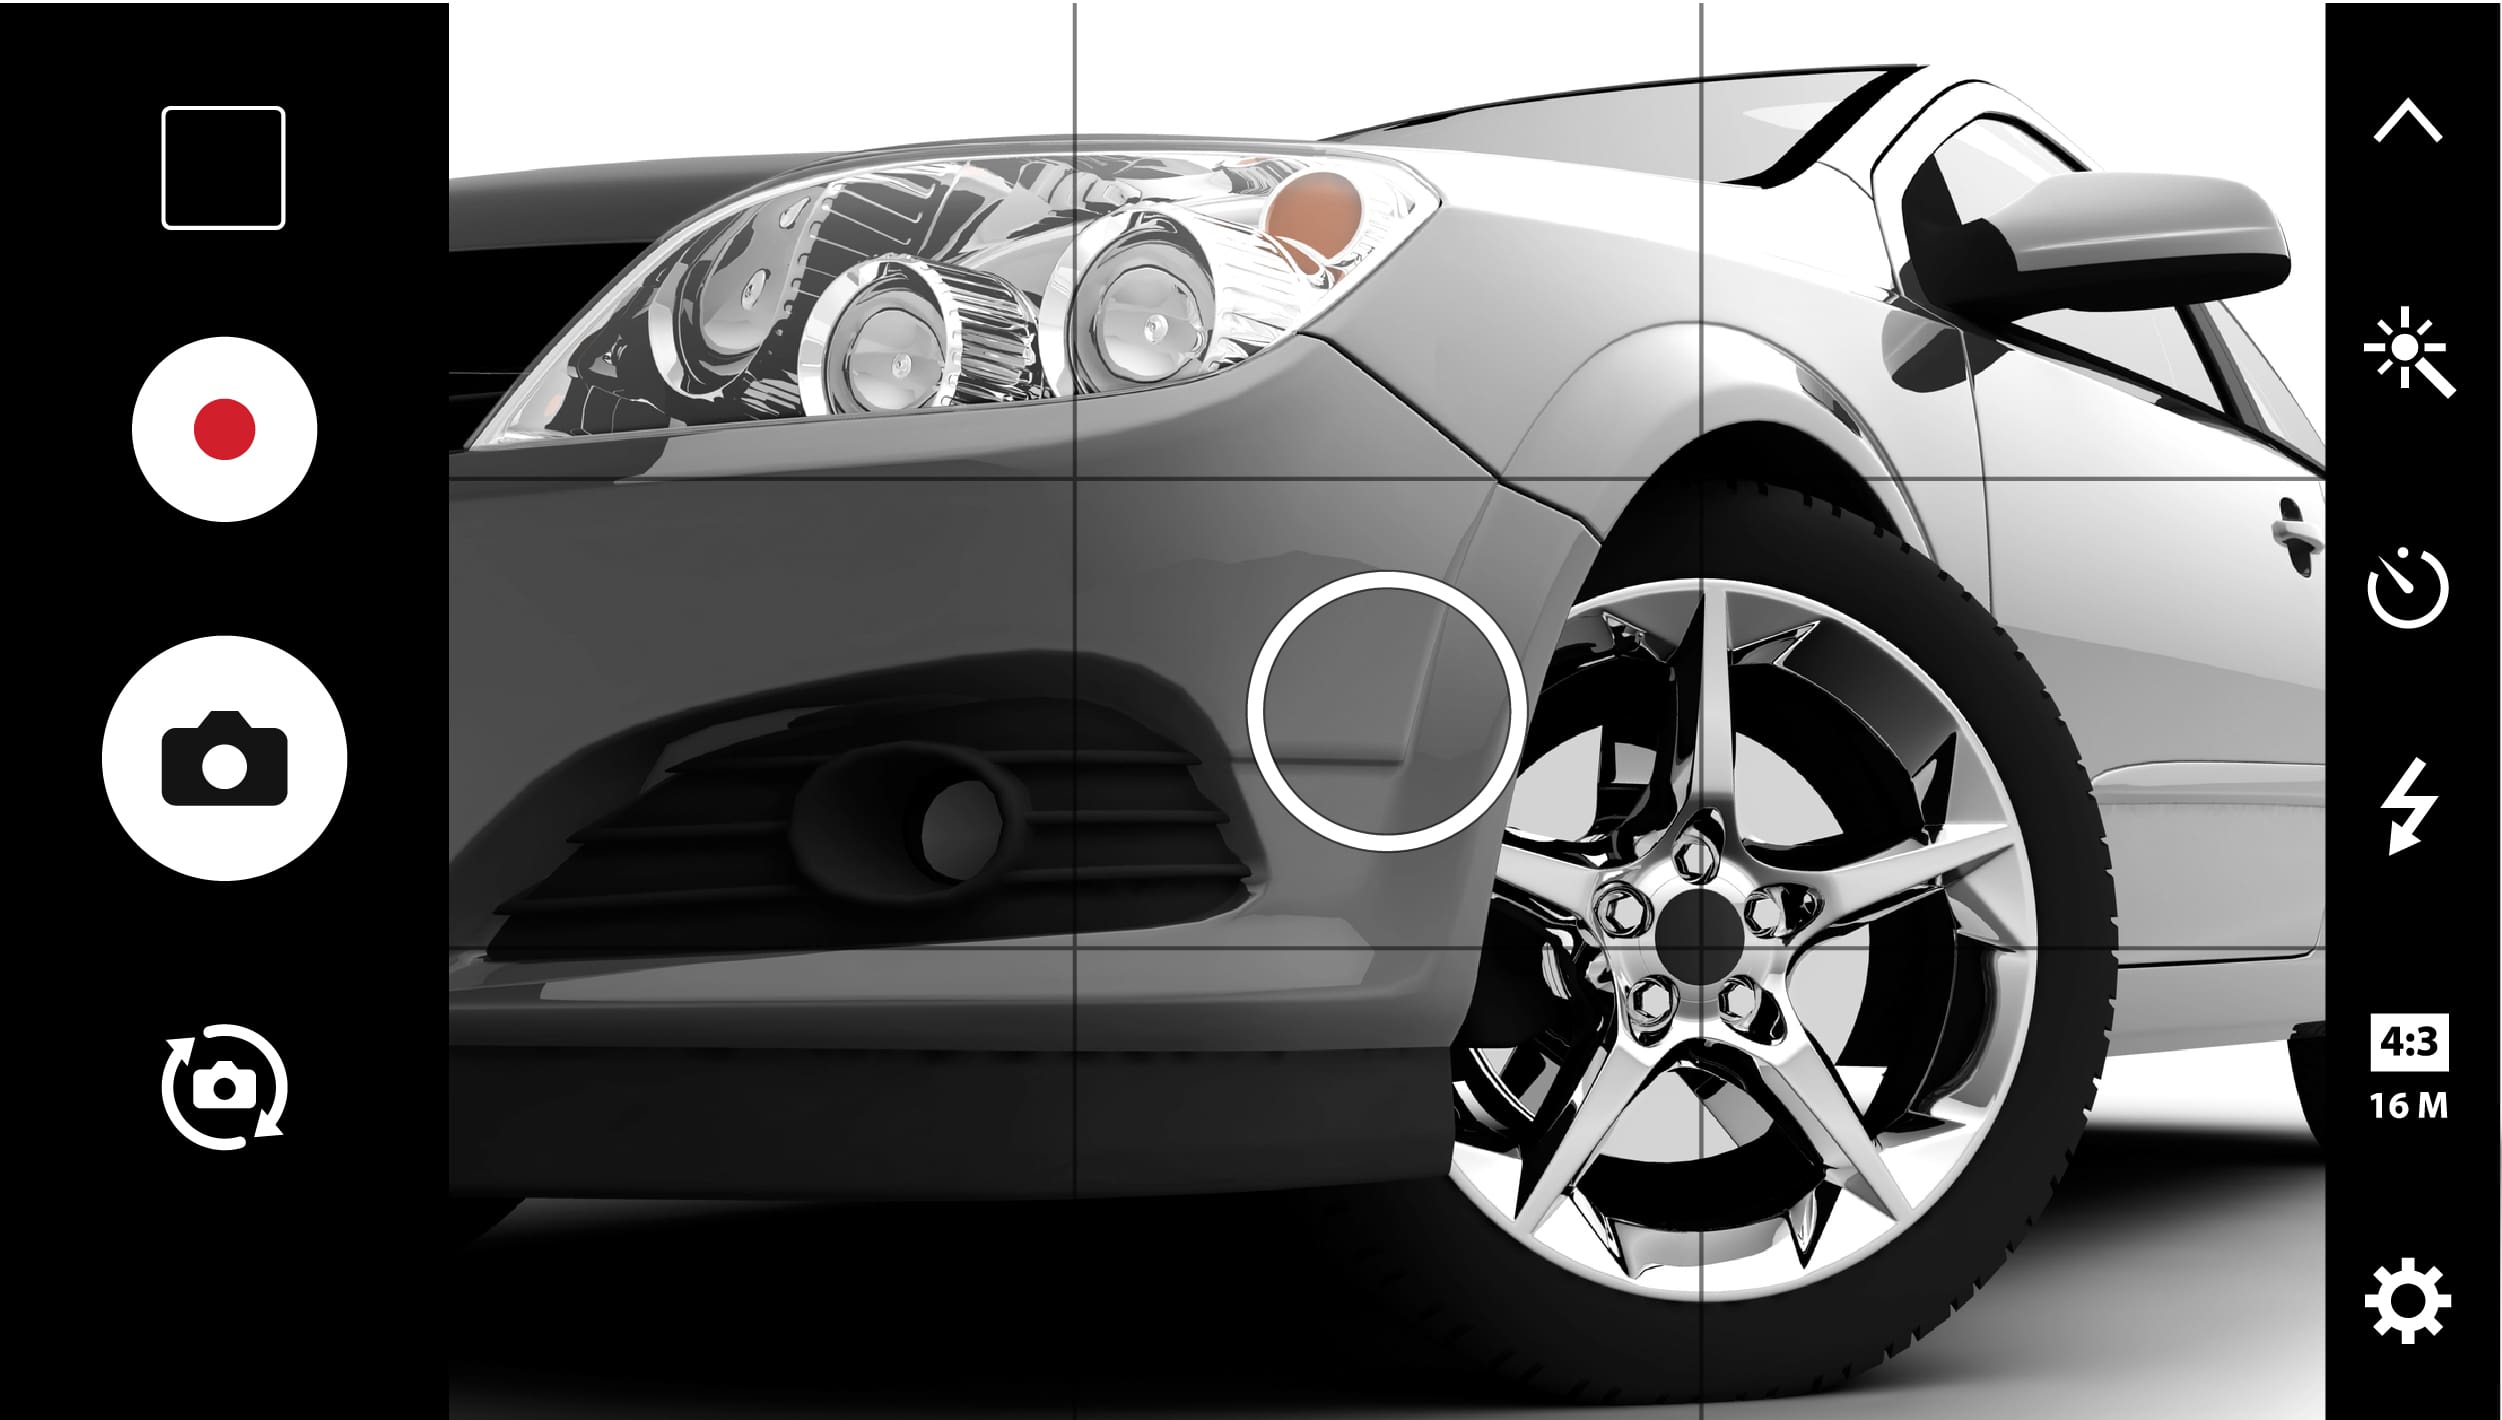
The Rule of Thirds in Practice
When I edit websites, photos often look more professional when using this technique:
- Grid lines divide your screen into 9 equal sections
- Instead of centering the vehicle, position key elements at grid intersections
- Try placing the front wheel at one of these intersections
- This creates a more visually appealing composition than center-placement
Solving Common Vehicle Photo Problems
These are some issues I encounter when working with client photos, and how to fix them:
“Photos look dark or sky too bright”
- Tap on the vehicle body (not the sky) and adjust exposure
- Enable HDR mode
- Shoot during golden hours, not midday
“My reflection appears in the vehicle”
- Wear dark clothing when shooting
- Shift position slightly
- Try a different angle
“Photos look crooked or tilted”
- Use grid lines religiously
- Stand on level ground
- Take multiple shots and select the straightest
“Vehicle color doesn’t match reality”
- Avoid unusual lighting (like parking garage fluorescents)
- Clean phone camera lens
- Shoot in natural overcast daylight
“Fleet vehicles look inconsistent on website”
- Include a color calibration card in one test shot (can be removed for final photos)
- Document exact camera settings and positions
- Photograph all vehicles during the same time window
- Use the same specific background locations
Documentation System for Fleet Photography
For businesses regularly updating vehicle photos, a simple documentation system can solve most consistency problems:
Create a photo log with:
- Vehicle details (make, model, color)
- Date and exact time
- Exact camera settings used
- Tripod position notes and height
- Weather conditions
- Any special considerations
This way, when you add a new vehicle months later, you can replicate the exact conditions and maintain a professional-looking fleet gallery.
Quick Vehicle Photo Session Checklist
Here’s a great checklist to keep on you when taking your photos:
☐ Vehicle thoroughly cleaned inside and out
☐ Tires properly inflated and treated with tire shine
☐ Phone camera lens wiped clean
☐ Tripod set up at documented height and position
☐ Grid lines enabled
☐ HDR mode turned on if available
☐ All personal items removed from vehicle
☐ Background free of distractions
☐ Multiple shots of each angle
☐ Check for self-reflections in vehicle
☐ Document settings in photo log
Click here to download a copy of this checklist for future use.
After Taking Photos
After capturing vehicle photos, these steps help prepare them for your website:
- Review all photos for quality and clarity
- Select the best images (typically 6-10 per vehicle)
Make basic adjustments using your phone’s built-in tools:
- Straighten any crooked images
- Adjust brightness if needed
- Crop to remove distractions (Do not crop out any of the vehicle if the background needs to be removed from the image)
For fleet websites, apply consistent editing across all vehicles.
Need Help With Your Vehicle Photography?
While these techniques will significantly improve your vehicle photos, sometimes you need professional help for truly exceptional results.
Fusion Marketing can help with many comprehensive services including:
- Professional photography
- Website design and development
- Basic image editing
- Complete marketing strategy for vehicle businesses
Our systematic approach ensures consistent, high-quality results every time. We understand the unique challenges of showcasing vehicles online and can help your business stand out with professional imagery that builds customer trust.
To learn how we can improve your website’s vehicle photography, contact us today.
Remember: In today’s digital marketplace, I’ve seen firsthand how high-quality vehicle photography directly impacts conversion rates. Whether you’re using these techniques yourself or partnering with us, better vehicle imagery will immediately improve your site’s performance.


